


Article about tying another lake or river streamer.
Introduction:
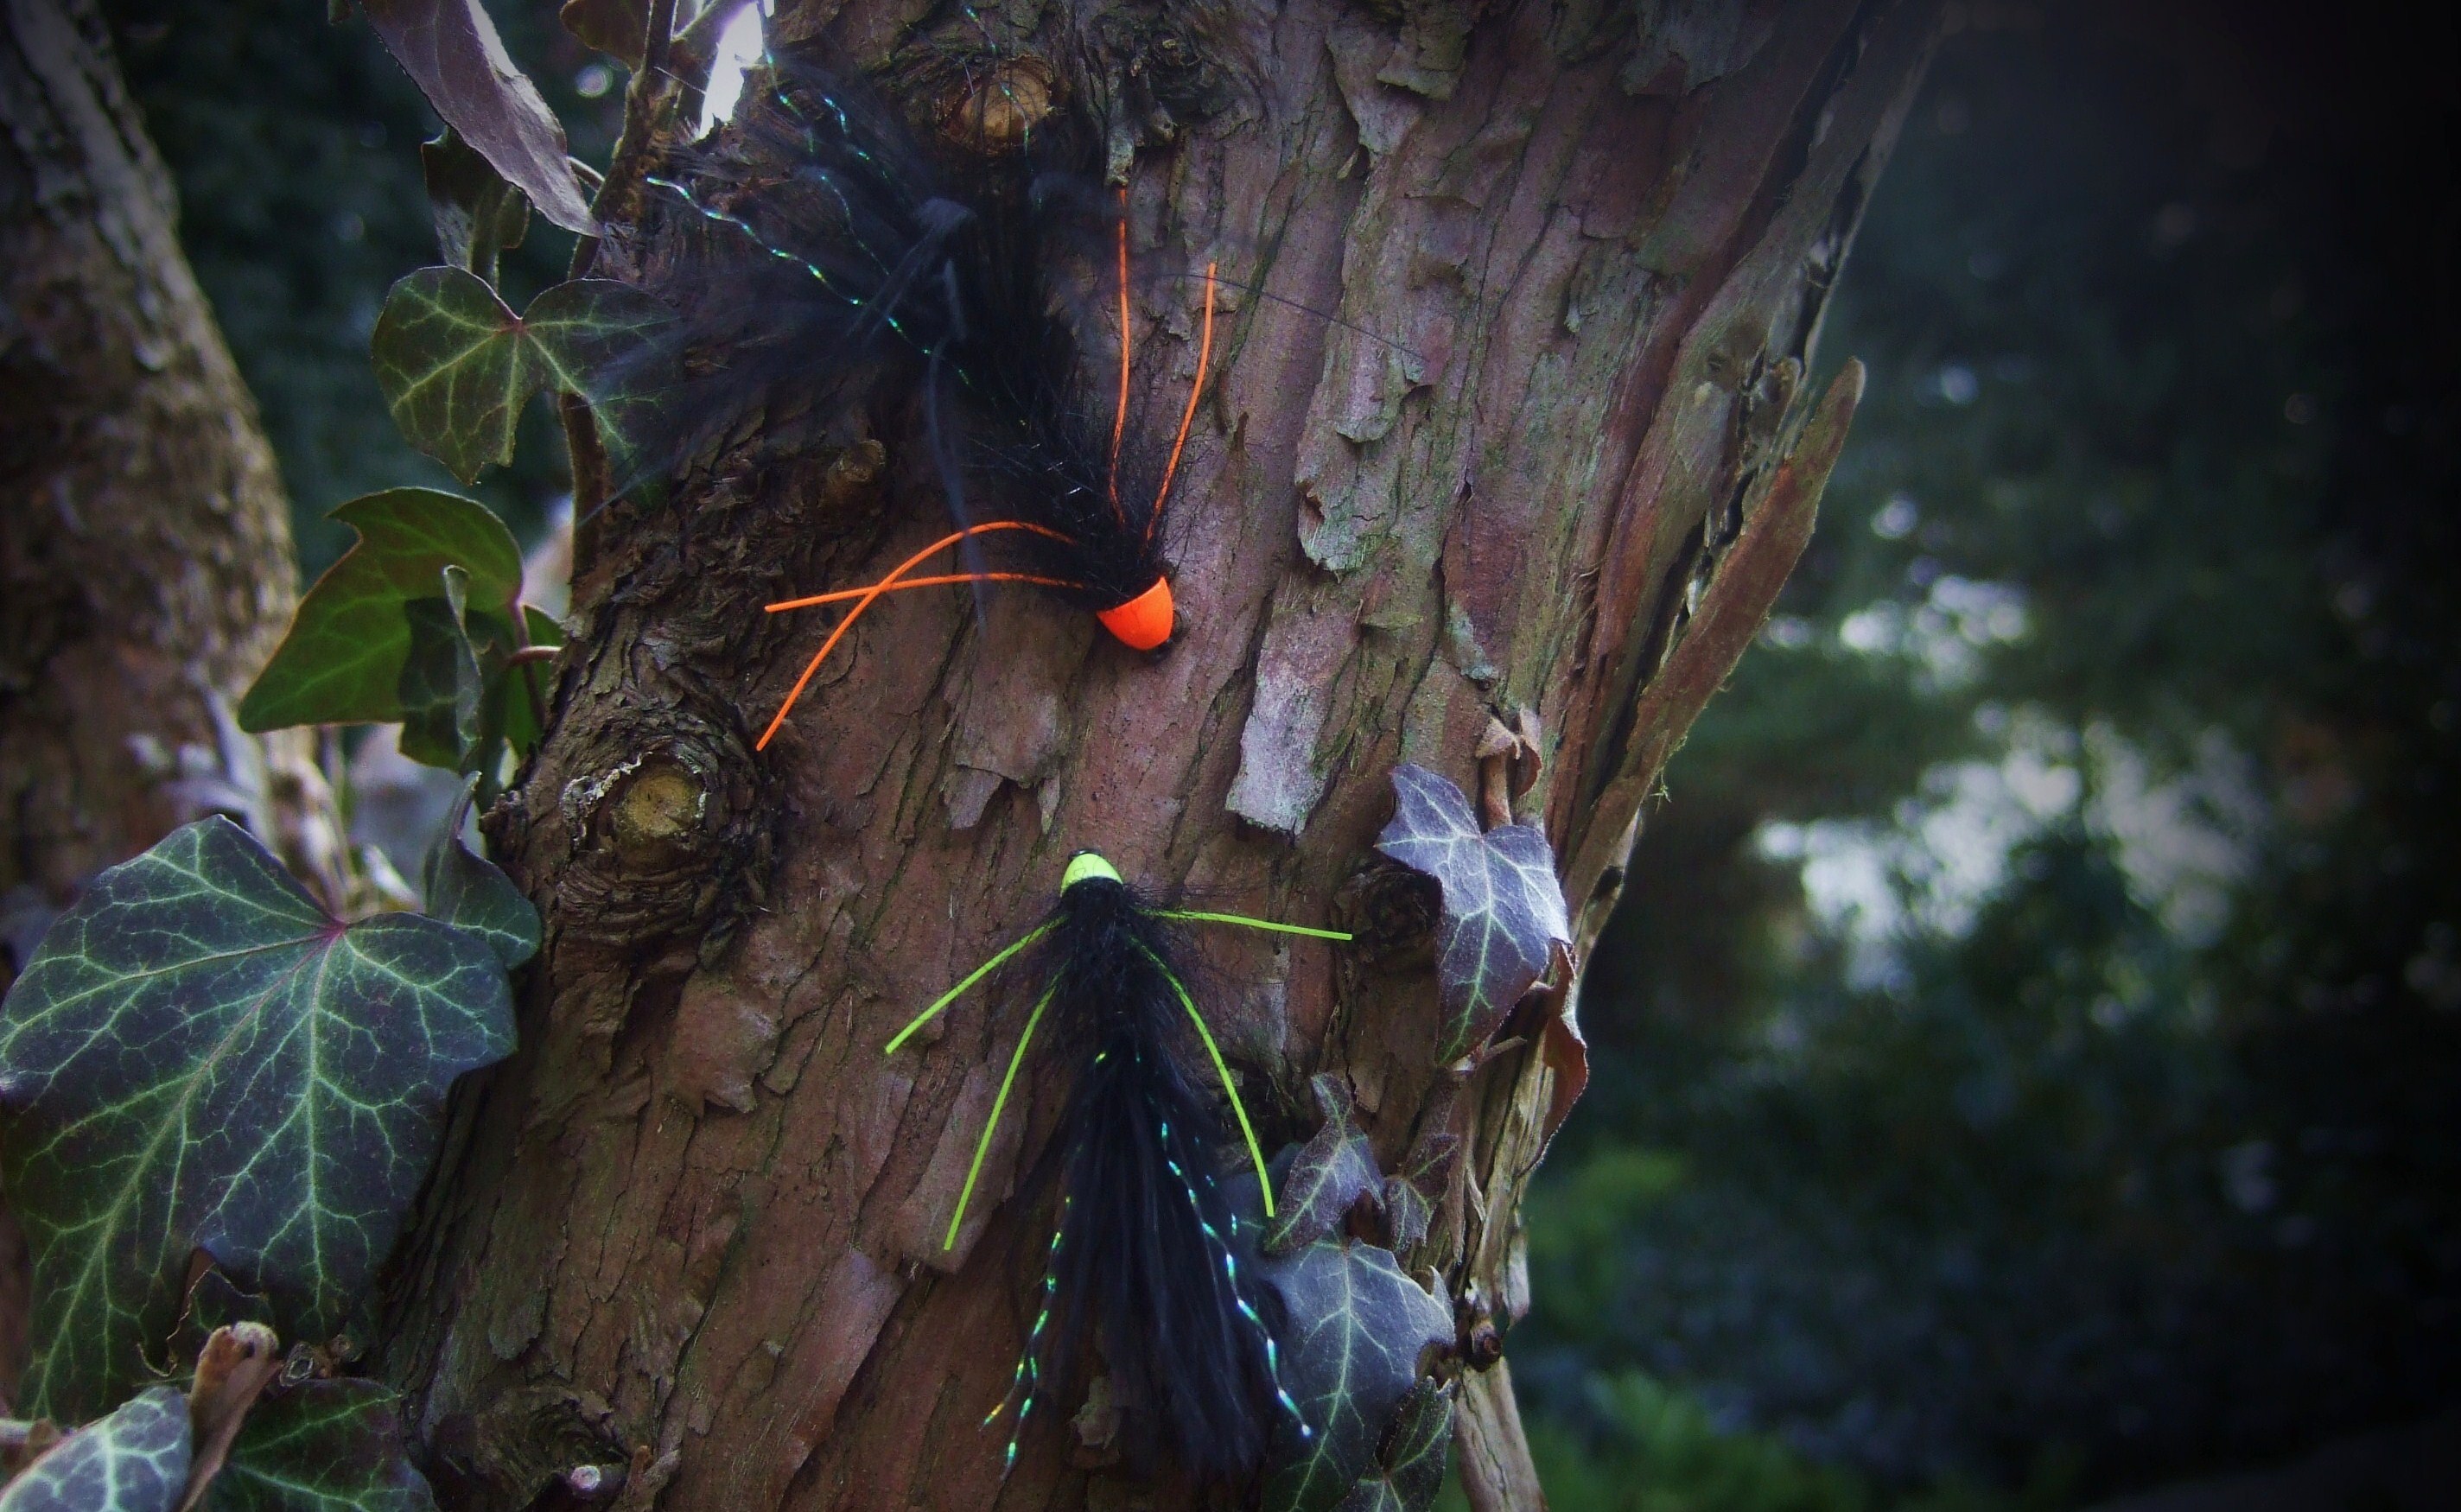
I must admit, that when choosing my next pattern in this series I had a bit of trouble choosing which fly to present next. Originally I had chosen a completely different pattern, but in the end after some reflection, the choice became clear! I realized I just had to show you the fly I fittingly call (because of its look and the way it’s fished) the Conehead Octopus.
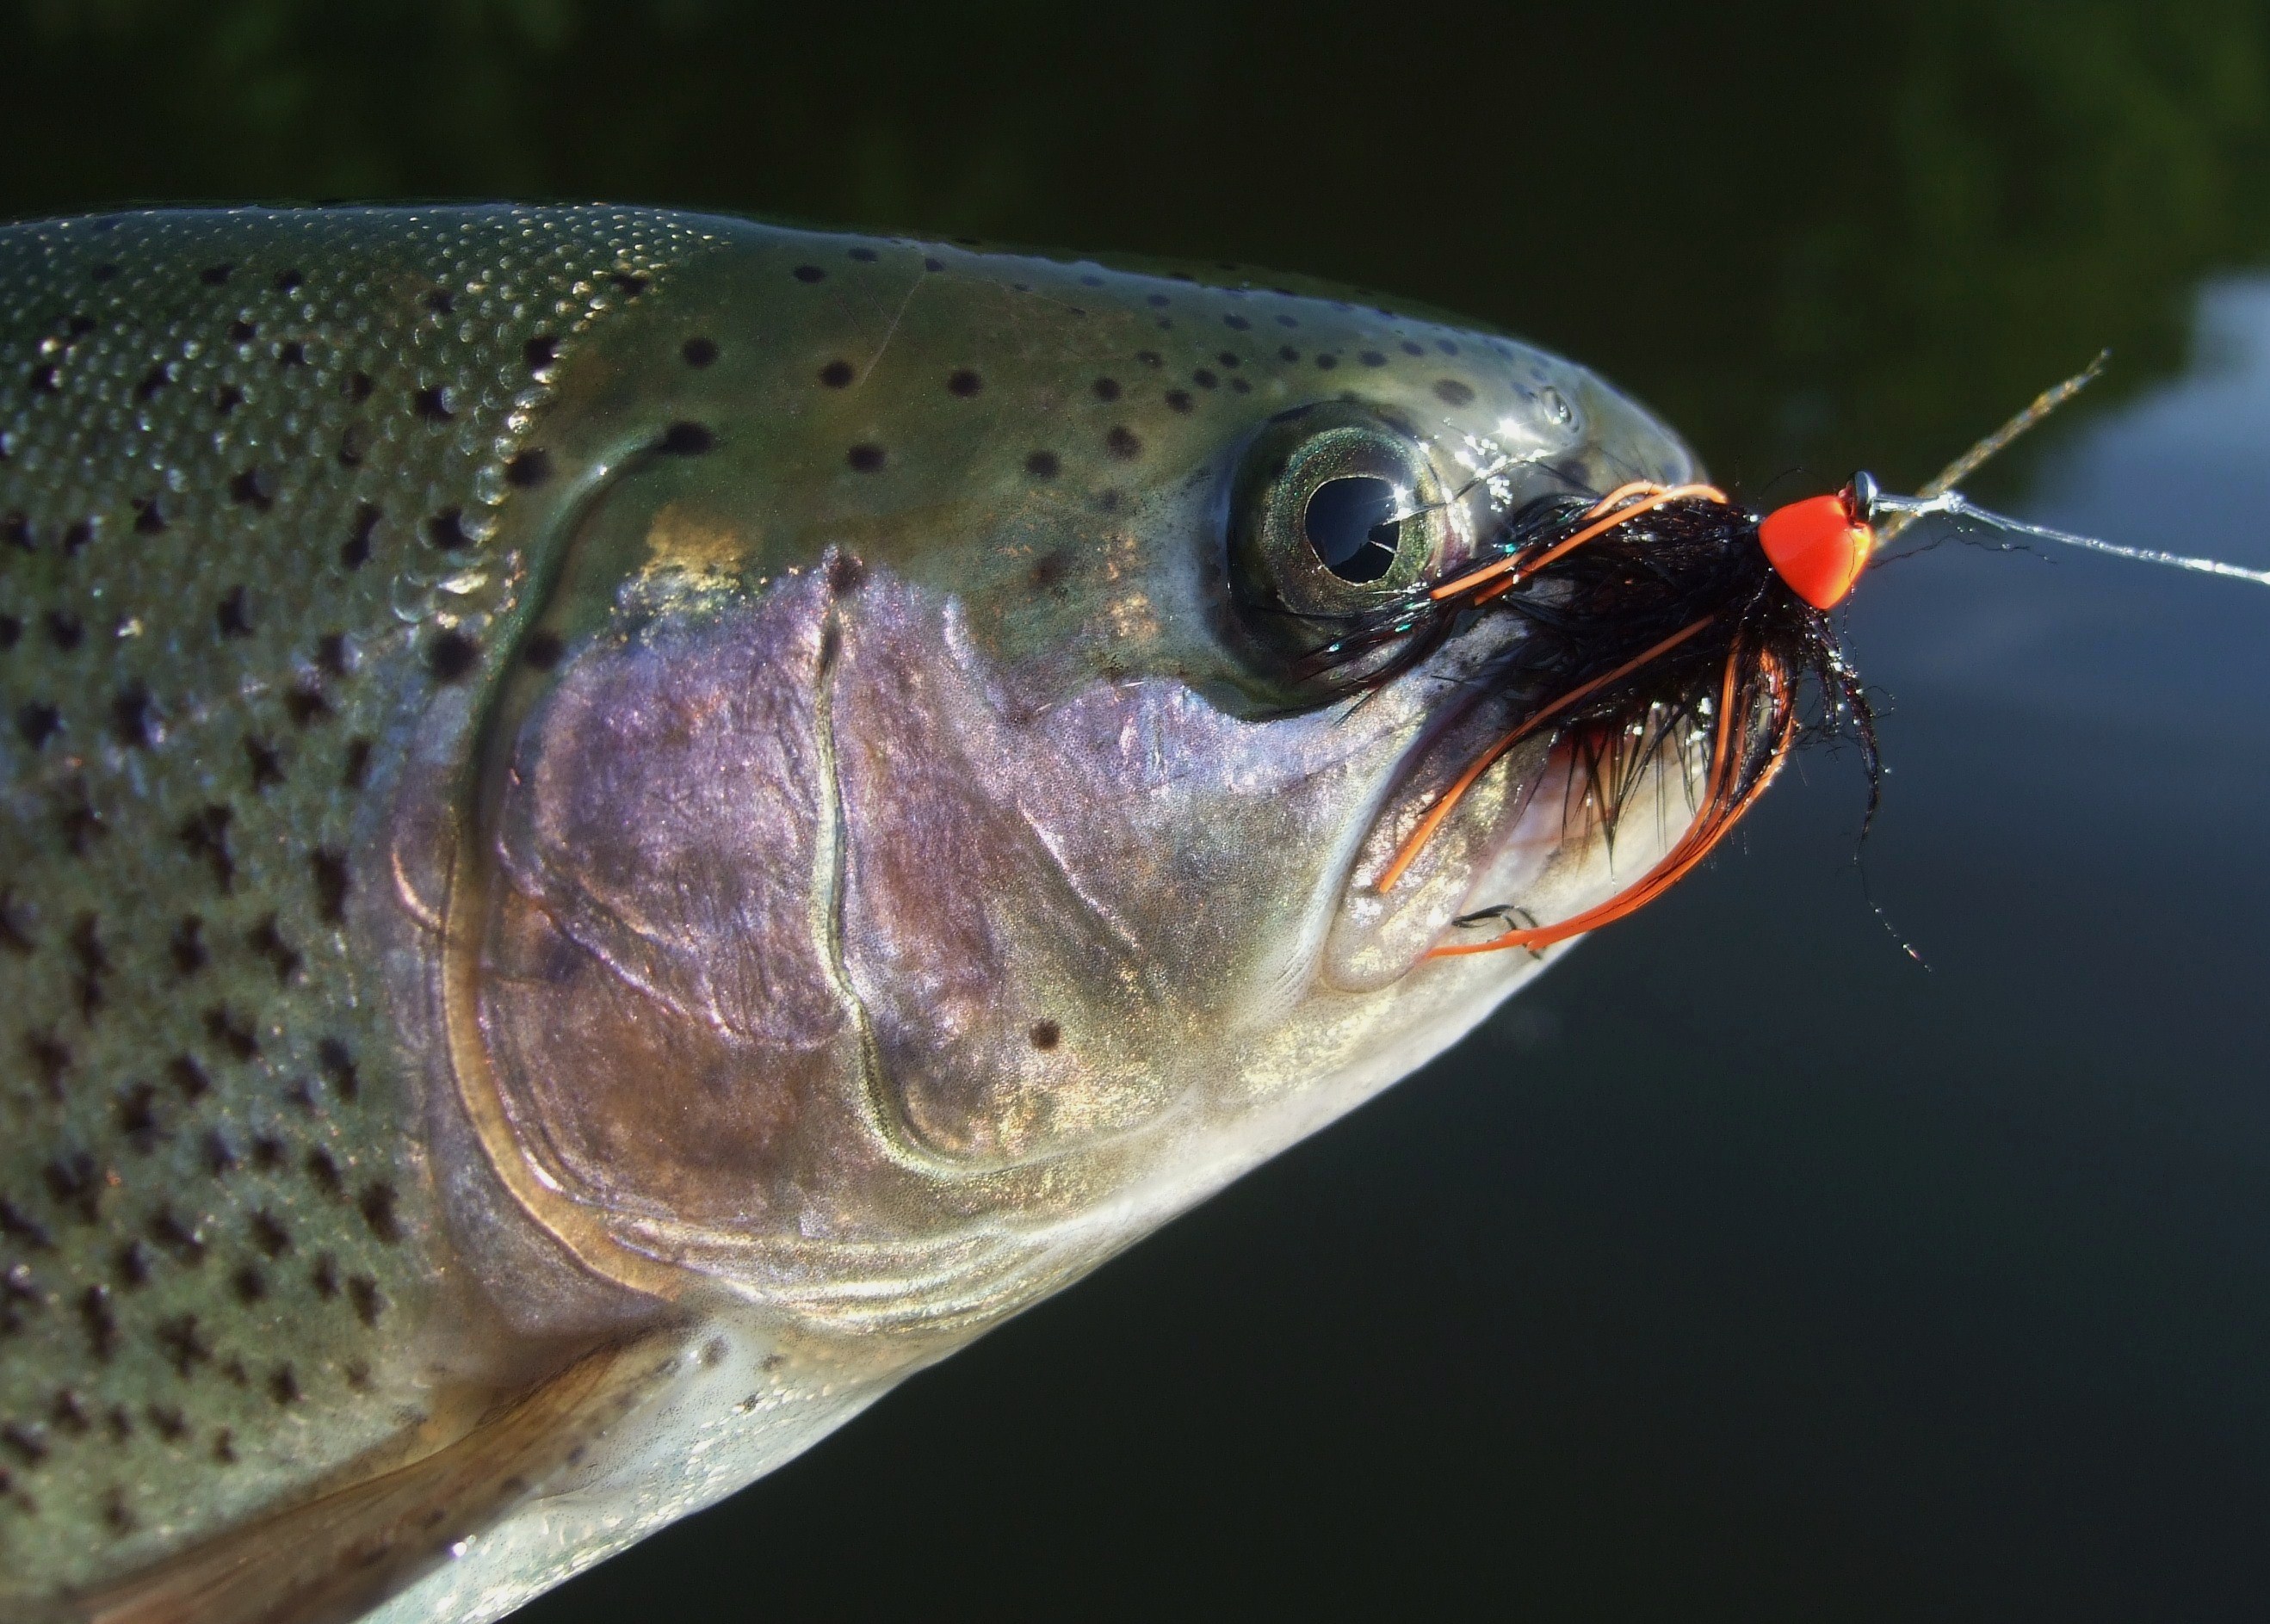
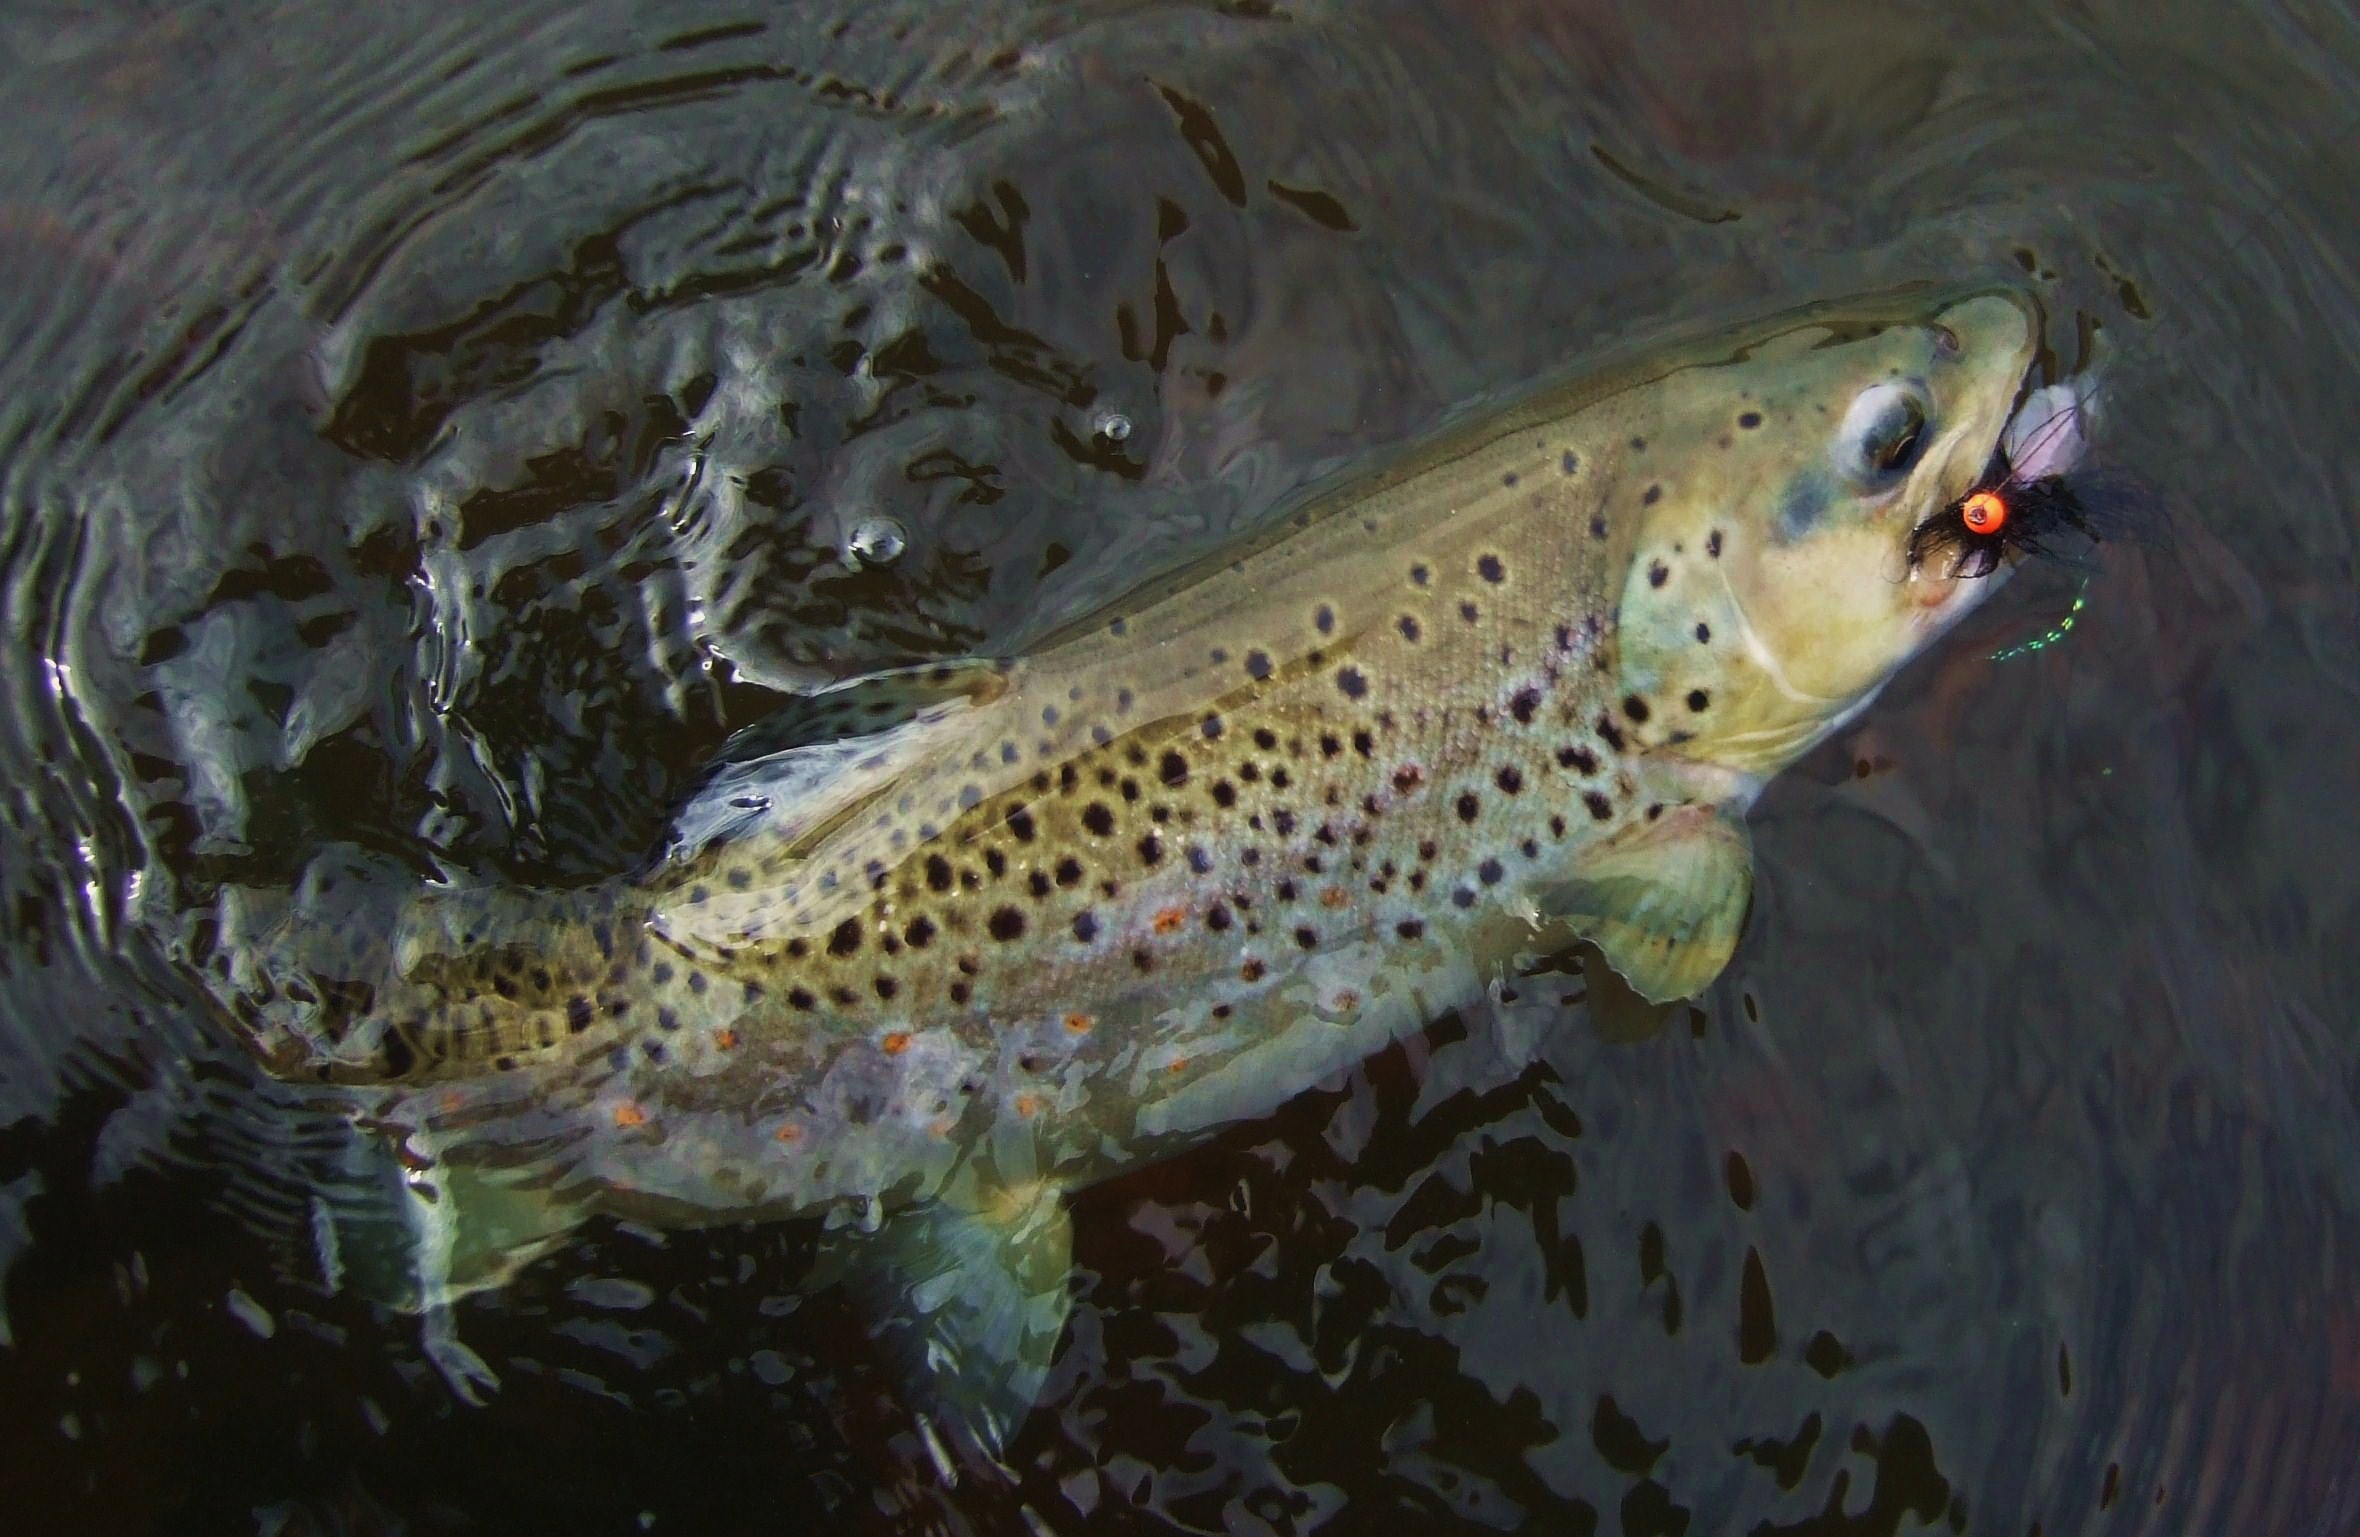
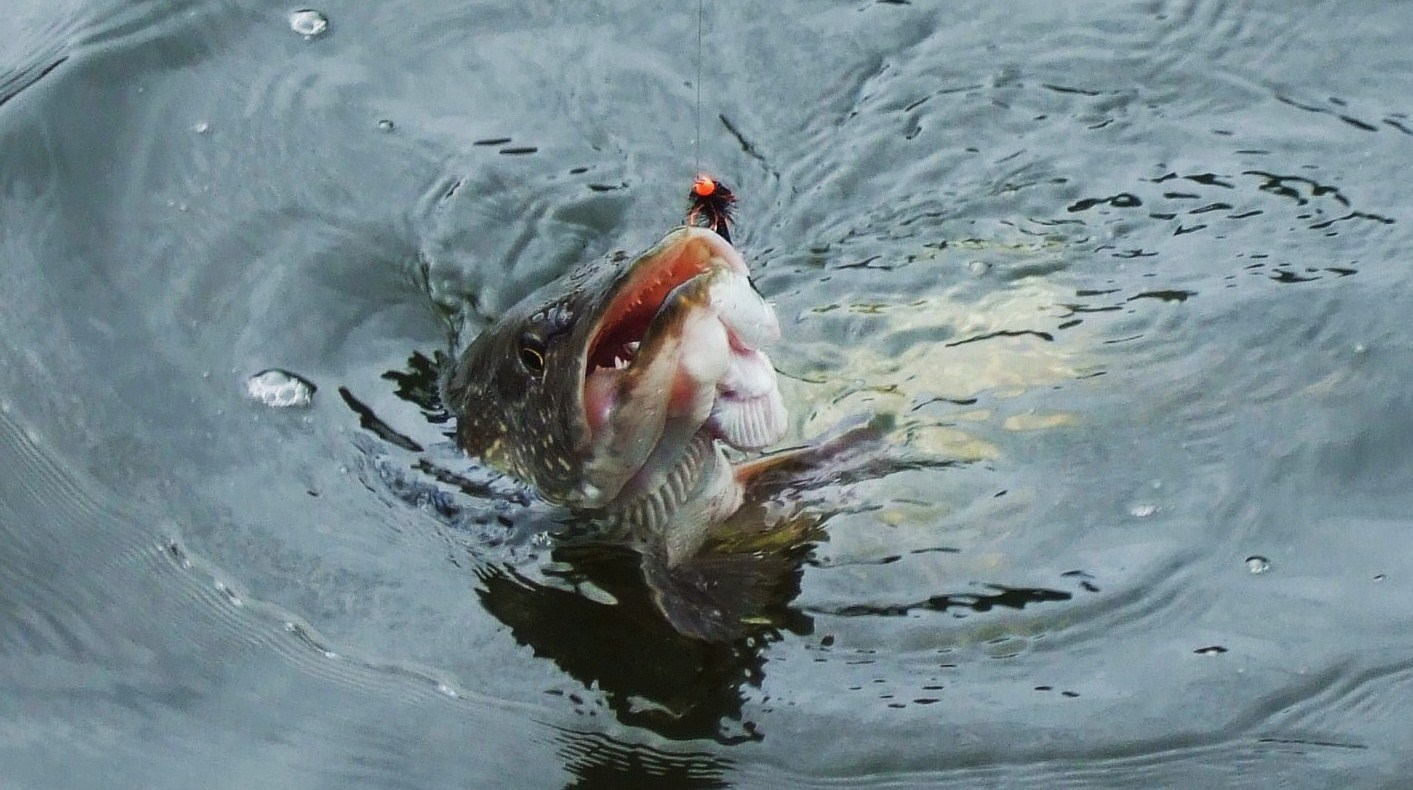
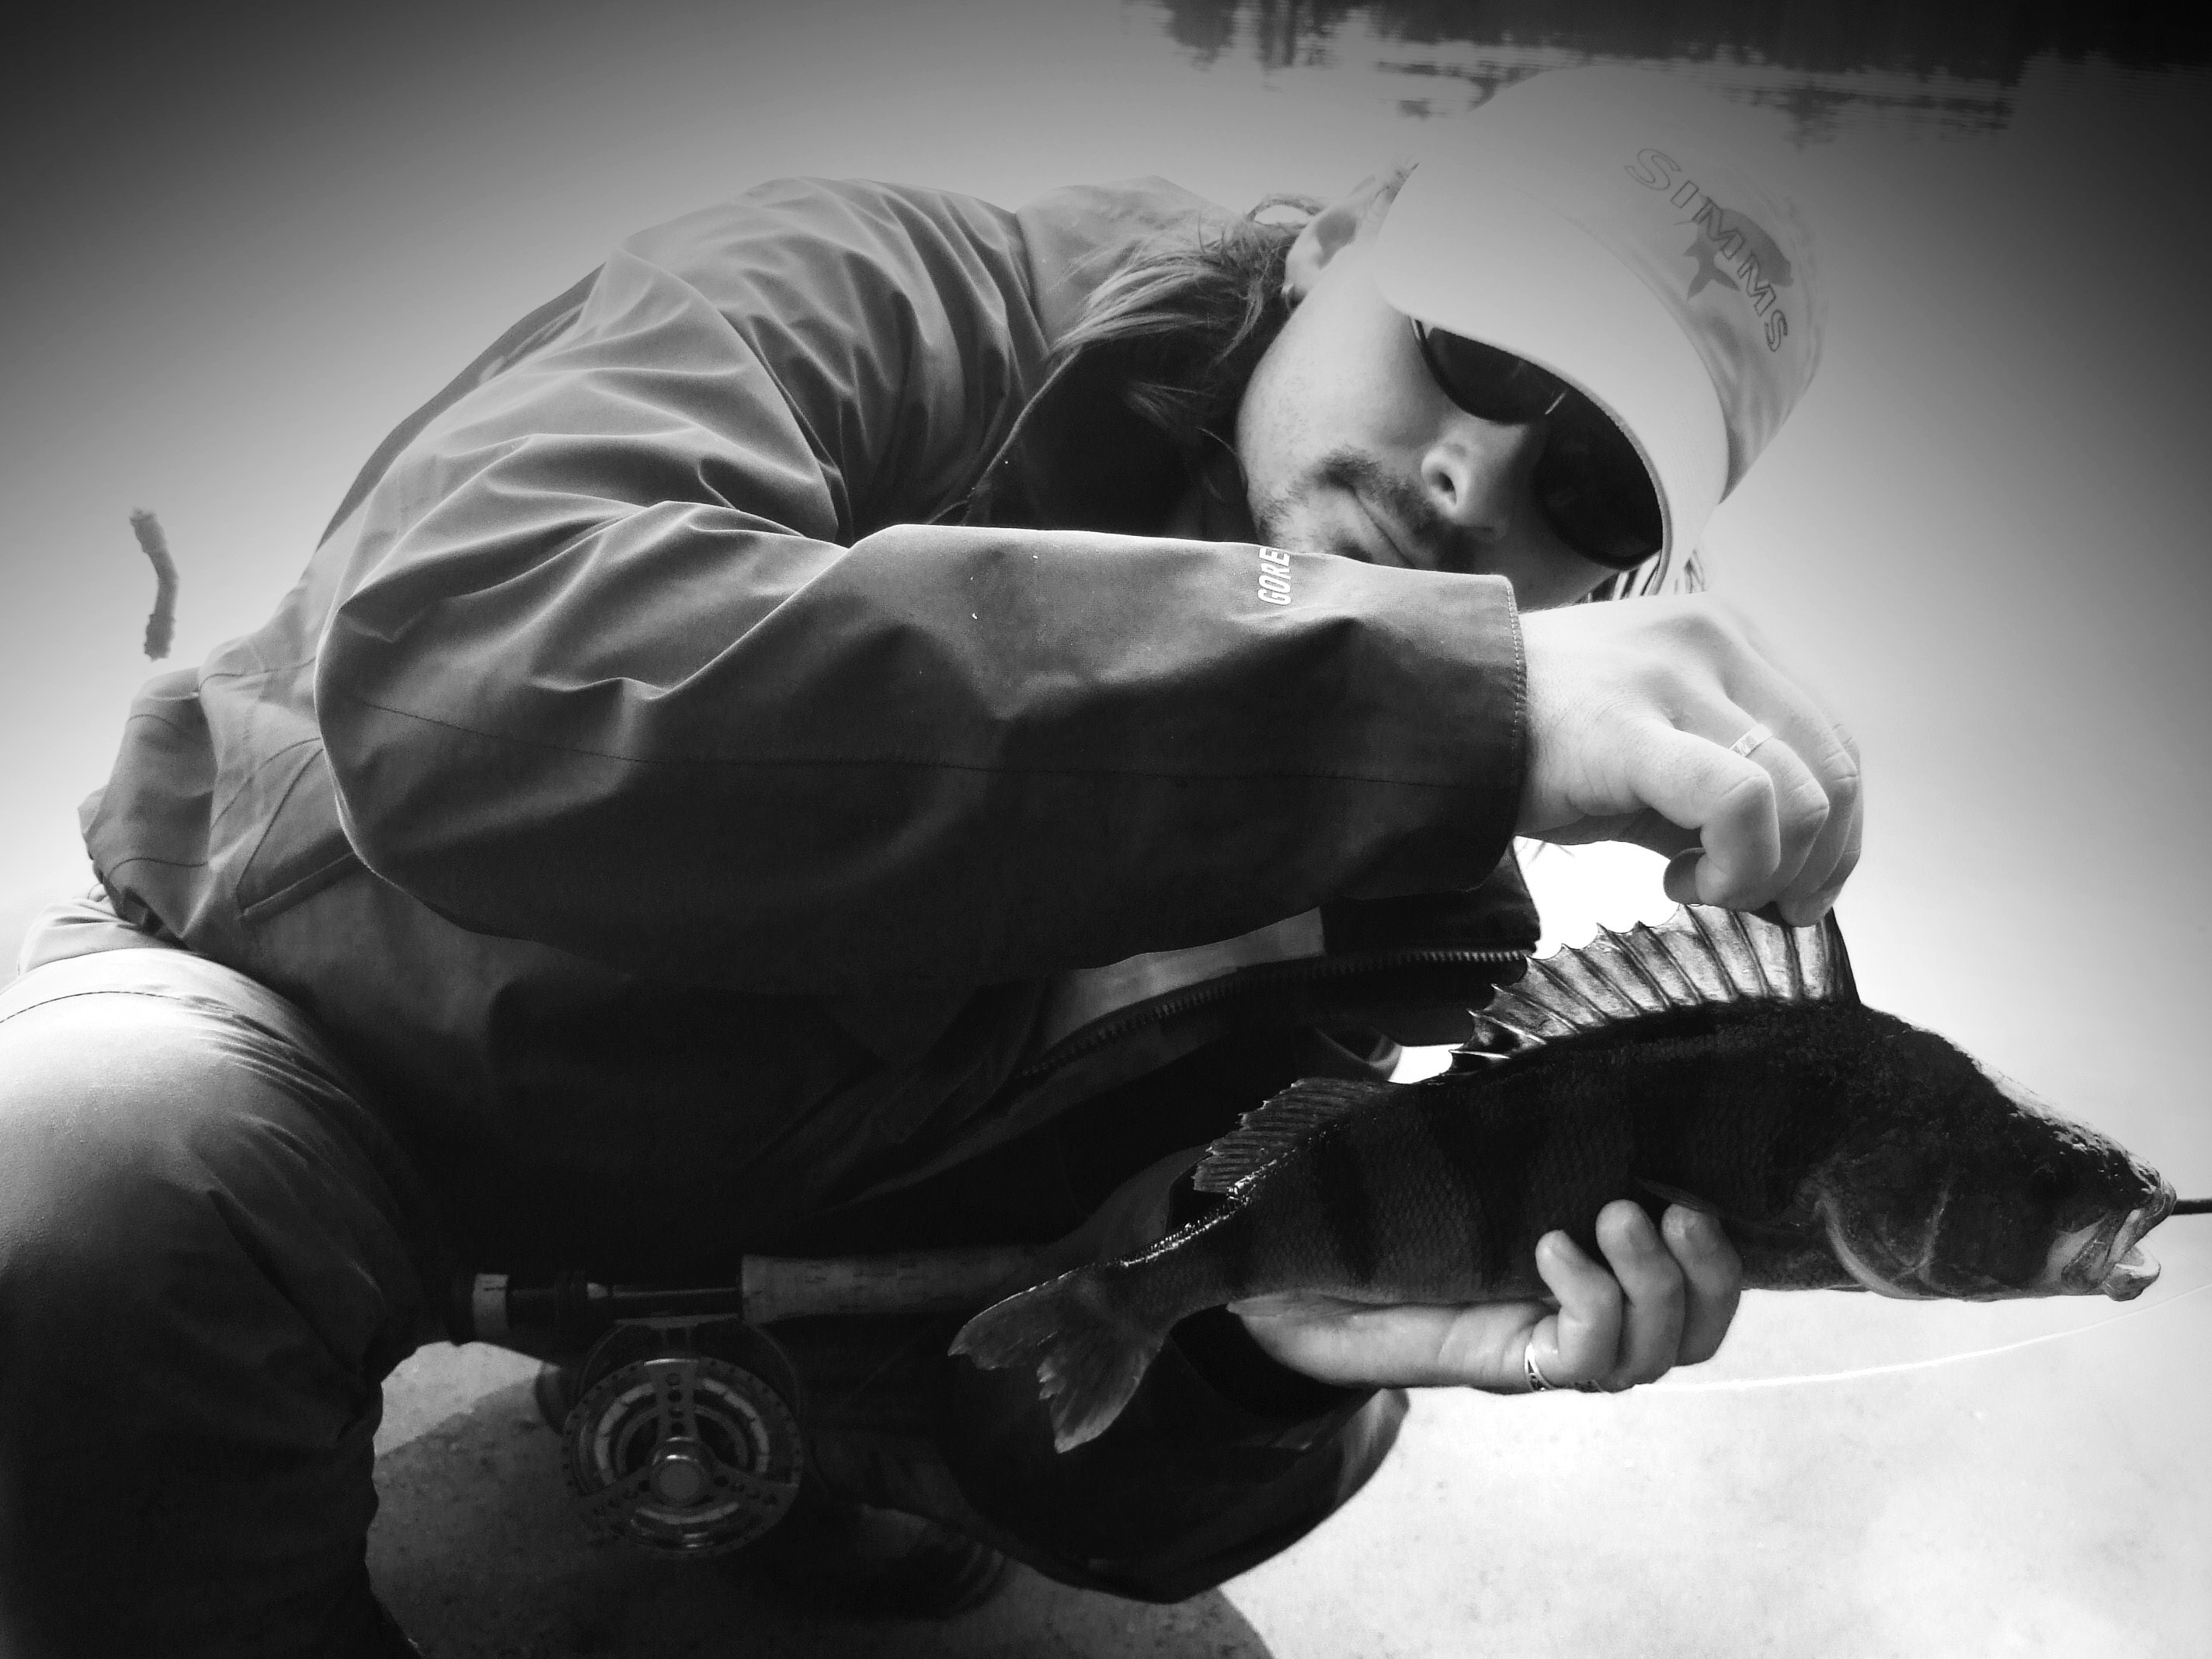
The reason for my choice in the end is this – with no other trout streamer did I spend as much time at the water with last season than with this one! It might be said that whenever I used a streamer either at a lake or on a river, 90% of the time I had the Conehead Octopus at the end of my leader. This fly acted as sort of a scout –an investigator of both unknown waters and the first moments at well-known waters. With its help I mapped out the situation, searched for fish, tested how active they were and their current moods. Then I either stayed with the Conehead Octopus or changed my tactics and techniques accordingly. Many times this pattern saved me from total failure, and always managed to somehow confirm my confidence in it.
It is important to have such a fly that you can always start with or switch to in moments when all else seems lost. And it is even more important to have absolute confidence in its potential and ability to provoke even apathetic fish to strike. Who does not have such a fly, I hope this article can give some inspiration!
Equipment and fishing technique:
The equipment needed for fishing with the Conehead Octopus is minimal. This is a streamer, so we will want to quickly and intensely work the chosen stretch we hope holds the big fish. So we don’t want to underestimate our equipment – the best are lake rods of 6-8 weight from 9 feet to 9’6” and fast action. I most often use intermediate line, which sinks through the water and with the help of short pulls I work the entire river or lake section I’ve chosen. This method of playing the fly creates a very attractive pulsing movement, with the fly sinking towards the bottom thanks to the heavy head, and the rubber legs and palmered hackles together with the marabou tail freely flickering. Then, at the moment of pulling on the line all these parts lay against the body, followed by again floating free at the end of the pull and provoking our predators to strike. I never go below 0.18 mm diameter tippet, while the maximum I use is 0,20 - 0.26 in waters when I expect big and aggressive fighting fish. I always use just one fly at the end of a 2-3 meter long leader.
Tying materials:
Hook:
For trout, perch, and chub streamers I have grown to like H 900 BL barbless streamer hooks in sizes 6 and 8 (depending on the size of fly to be tied). This type of hook has great strength, and an appropriately long shank compared to classic streamer hooks with overly long shanks. It also has a deep bend, making it hook well in the fish’s mouth, and a nice sharp point – though that’s not necessarily the most important thing in the world, since while streamer fishing the hook often bounces of rocks and such you have to count on sharpening the hook regularly.
A good tip: Take a sharpener for hooks with you to the water so you can sharpen up the point any time. If you happen to forget, a wet stone can help as well
For the cost, this hook is optimal quality for this pattern.
Thread:
Like for all streamers I use stronger thread (Kevlar, Grall, Klima tying thread) so I can wind tightly in critical parts of the fly. I choose the color based on the color of the overall fly – in this case black.
Lead wire:
A necessary part of the weighted head of this fly. I usually choose a lead wire of 0.6 – 0.7 mm diameter for 5-7 winds which I push into a slight cone-shaped head so the fly will gently fall head-first. In combination with leading the streamer with pulls on the line this creates the graceful and wavy movement.
Head:
A bit “exotic” compared to most Czech flies with an indestructible round head This conic head beautifully enhances the silhouette of thy type and size of streamer or large lure. My favorite are the cone headse from Hends (specifically Cone – Head) in 4.5-6mm diameters. These heads are made in a variety of colors for fantastic patterns – orange, chartreuse, pink, etc., as well as for natural patterns – gold, silver, black, bronze. Their weight is negligible (which is why the lead wire is needed), but the visual effect excellent. They are also long-lasting, which is important since the color of the head and legs are needed to create contrast with the dark body.
Marabou tail:
One of the main factors making the Conehead Octopus enticing for predatory fish, so be sure to use quality marabou for your streamer flies. Using quality materials and choosing how to use them in combination with your tying proficiency and technique helps you create beautiful and effective patterns. The fineness of the feathers, long-lasting colors and strength – particularly for marabou – are a huge part of this, so pay attention to these characteristics and use only quality tying materials!
Flash fiber:
A supplementary material, where “sometimes less is more”.
I have had good results with soft “pulled” fibers Krystal hair in Pearl – two fibers on each side of the marabou tuft, that can’t be missing on any of my streamers. This acts as a decent attractor in the tail.
Body dubbing:
For similar streamers in general (like the Wooly Bugger for trout)and the Conehead Octopus in particular, I exclusively use a coarser, shiny material known as Gleamy dubbing – in this case in black. Gleamy dubbing is an excellent choice because of the roughness of the hairs, and at the same time is shiny and is more easily dubbed than seal, making it a good substitute. Its colors are long-lasting and after combing with Velcro it gives a very natural impression. It also doesn’t soak up much water, so the fly doesn’t get too heavy for good casting and the dubbing doesn’t change character when wet. The colors can be altered of course (brown, olive, claret, etc. variants), but it is important to keep in mind the final contrast between the head + hackle and the fly body.
Hackle and legs:
1) When tying we start off first with palmered hackle made from fine feathers of a genetically bred black rooster (Whiting). Another excellent possibility is a longer hen feather, which can be even finer. This fineness of the legs is important in combination with combing the body dubbing, together making the body pulsing and “alive”. You may think that these are just details, but what else in today’s world of endless possibilities should we pay attention then the details of our flies?
2) The second type of legs, and more important, are the rubber legs. These are made of very flexible and thin rubber bands cca 0.3 – 0.4mm in diameter. I use the same color as the color chosen for the cone head. Of course the range of colors is huge, so you can make many variations and combinations. Just try what works for you and use the variants you like!
The use of rubber band legs isn’t just for streamers, and I use them in natural colors to tie moving legs in many heavy nymphs, dry caddis flies and terrestrials such as hoopers, foam bugs, etc. In the water these legs act very enticingly, and the resulting movement of streamers is hard to resist. Be careful to get the length of the legs right – too short and they won’t move at all, but too long can be bad also, leading them to get wrapped up in the hook and not act as they are supposed to. The material and color are long-lasting – I expected them to eventually fade and become cracked, but to my surprise that hasn’t happened.
Ribbing wire:
Acts mainly as a stabilizing material that firms up the body, especially the palmered hackle. I use silver or gold wire in 0.18mm diameter.
Thorax:
I make this from the same black Gleamy dubbing, dubbed in loops and then combed to create volume and size.
Lacquer, super glue:
These are used to regularly fix intermediate steps when tying any fly, and especially for streamers that must withstand greater wear and tear when fishing!
Variants and Individual Steps
Step 1:
In the first step we slide on an orange cone head of 5mm diameter onto a barbless hook. The fix the hook in the vise and wind on a lead wire – the ideal number for this thickness of wire (0.7mm) is 5-6 winds. Push this weight into the opening of the cone head, which during fishing will cause the streamer to enticingly attack downwards when leading it. To stabilize the head (otherwise it will rotate, eventually causing the dubbing and thread in the thorax to come loose), put a drop of superglue just behind the hook eye and push the cone and lead wire onto it.
Step 2:
Lacquer the hook shank and then wind on strong black tying thread. This also fixes and smoothens the end of the lead wire. At the hook bend this also prepares a foundation for tying on the tail, preventing the tail from getting wrapped around the hook when casting and fishing.
Step 3:
Prepare a thick and long pinch of black marabou feathers, pulled off to the length desired and shaped into an “arrow feather”. Roll the end to be tied onto the hook between your thumb and index finger to make it as thin as possible, and tie on to the foundation of thread from step 2.
In the second part of this step tied in 2 threads of Krystal hair onto each side of the tail and cut off to the same length as the marabou.
Step 4:
Tie in the silver ribbing wire, which we will soon use to fix the palmered hackle and also creates the fly ribbing. Create a symmetrical body foundation with the tying thread for the next step, and lacquer.
Step 5:
Wrap the gleamy dubbing to make a thin and symmetrical body, and comb out with Velcro.
Step 6:
In the thorax region tie in a long and symmetrical good-quality fine rooster feather – also in black.
Step 7:
Using 5-7 winds create symmetrical palmered hackles over the whole body that are then regularly ribbed and fixed with the silver wire. Then, tie down the wire with tying thread and trim off. Now you can also trim off the remaining rooster feather near the hook bend – be sure to cut off rather than pull, which could loosen some of the palmered hackle winds. Comb the whole body once again with Velcro.
Step 8:
Already at this “unfinished” stage the fly is irresistible, but we want to take things to the next level! For this, we tie in 2 “pairs” of orange rubber band legs to the thorax. This can be done in a number of ways. I first cut a longer piece of rubber band – about 6 cm – that I fold in half and tie at this bend to the upper part of the thorax. To obtain the correct look and spread of legs from the body, I pull the legs and shape them with the help of tying thread. I then adjust the leg length by cutting off as desired. I don’t recommend trying to tie each leg separately, as individual legs would be more easily pulled off while fishing. Two pairs – the rear pair longer than the front – are perfectly adequate. We want to entice the fish, not scare them off!
Step 9:
With a dubbing twister make a loop of thorax dubbing in front of the rear pair of rubber legs. Finely comb this loop with Velcro and the resulting knot. While making this thorax it’s useful to hold the rubber band legs to one side with pliers so they don’t get tangled in the dubbing loops. It’s also helpful to lacquer the area for thorax dubbing before starting this step.
Step 10:
In the final phase wind the dubbing in loops between the legs up to the end of the cone head. Pull the winds tight as you work so the loops don’t come loose when doing the final combing! End the thorax with tying thread, trim off the remainder, and finish the fly with several hidden knots in the area just behind the head. Fix this area with a small drop of lacquer using a dubbing needle. Comb the thorax dubbing well with Velcro to create a dense yet airy silhouette of a bulky thorax. The fly is now ready to take its place in your streamer box, though hopefully not for long.
A word in conclusion:
As I wrote in the introduction, it’s up to you how you may be inspired by this pattern. The basics and conception of this fly are the classical trout and non-trout American type Wooly bugger streamers, enhanced by 2 pairs of signature rubber band legs and a contrasting attractive head. Such upgrades are a big benefit these days, and not only for classic flies. Fish are more and more cautious, wary, and experienced, and we fly fishers have a tough task sometimes to outwit these beautiful creatures.
If we apply ourselves intensively to this task and put our minds to it, outwitting the fish becomes an even greater thrill. All sensible people must realize that there is something else to consider as well… that there’s no sense in killing such outwitted fish, but rather we should give them their freedom and new chances to resist and defy us. This of course leads us to try new methods and fishing strategies, including going back to the basics or improving on the time-tested, as I have tried to do here with this fly.
For all who think and feel the same, I wish you a successful and unsullied 2013 season, and I hope to meet you again “At the vise”.
Catch & Release Forever!