


For my first article in the “At the vise” series, I chose my favorite streamer pattern. It is an imitation of a small wounded and escaping fish, so the materials used are natural and thus represent ideal natural food for a predator.

Introduction
For my first article in the "At the vise" series, I chose my favorite streamer pattern. It is an imitation of a small wounded and escaping fish, so the materials used are natural and thus represent ideal natural food for a predator. My pattern is designed for very clear autumn waters, and so is tied without any shiny materials. In fact, such austere and natural patterns are better for drawing predators' attention at this time of year, and don't spook them in the clear water. Zonkers are very good predator streamer flies, with their great mobility enabled by the freely waving tanned hide hair. In fly fishing they are used to imitate small fish which are escaping predators, so they must be fished in this way.
Equipment
I most liking fishing the Grey Knight with intermediate line and heavier equipment - a lake rod with Aftma 6wf - 8 wf line. Floating line is also good for zonker fishing. I don't like to use sinking line because the construction of this pattern makes the fly's head slightly sink, and it could get caught on the bottom. It's better to use the above mentioned lines and lead the fly in irregular bursts through the current (imitating a wounded and confused fish) or raising the fly up to the surface. Of course in really big rivers and deep lakes where fish don't hunt only in the water column or surface but rather near the bottom, I wouldn't hesitate to use sinking line. Because the target fish are larger and stronger, it's necessary to use a larger diameter leader. I prefer 0.18 mm - 0.25 mm, which can take a lot. As far as tippet material designed for sharp teeth, I leave that to you. I personally don't like to use any kind of tippet, since they all to some extent influence the effect of the streamer. However, one must count on occasionally losing some streamers to pike. On the one hand, the fish should have the same chance at escaping as we have at landing it, but on the other hand the fish must also deal with living with an unintended "piercing" in its mouth or throat. We each have to decide ourselves what to choose - we can use a steel wire, tungsten wire or something else.
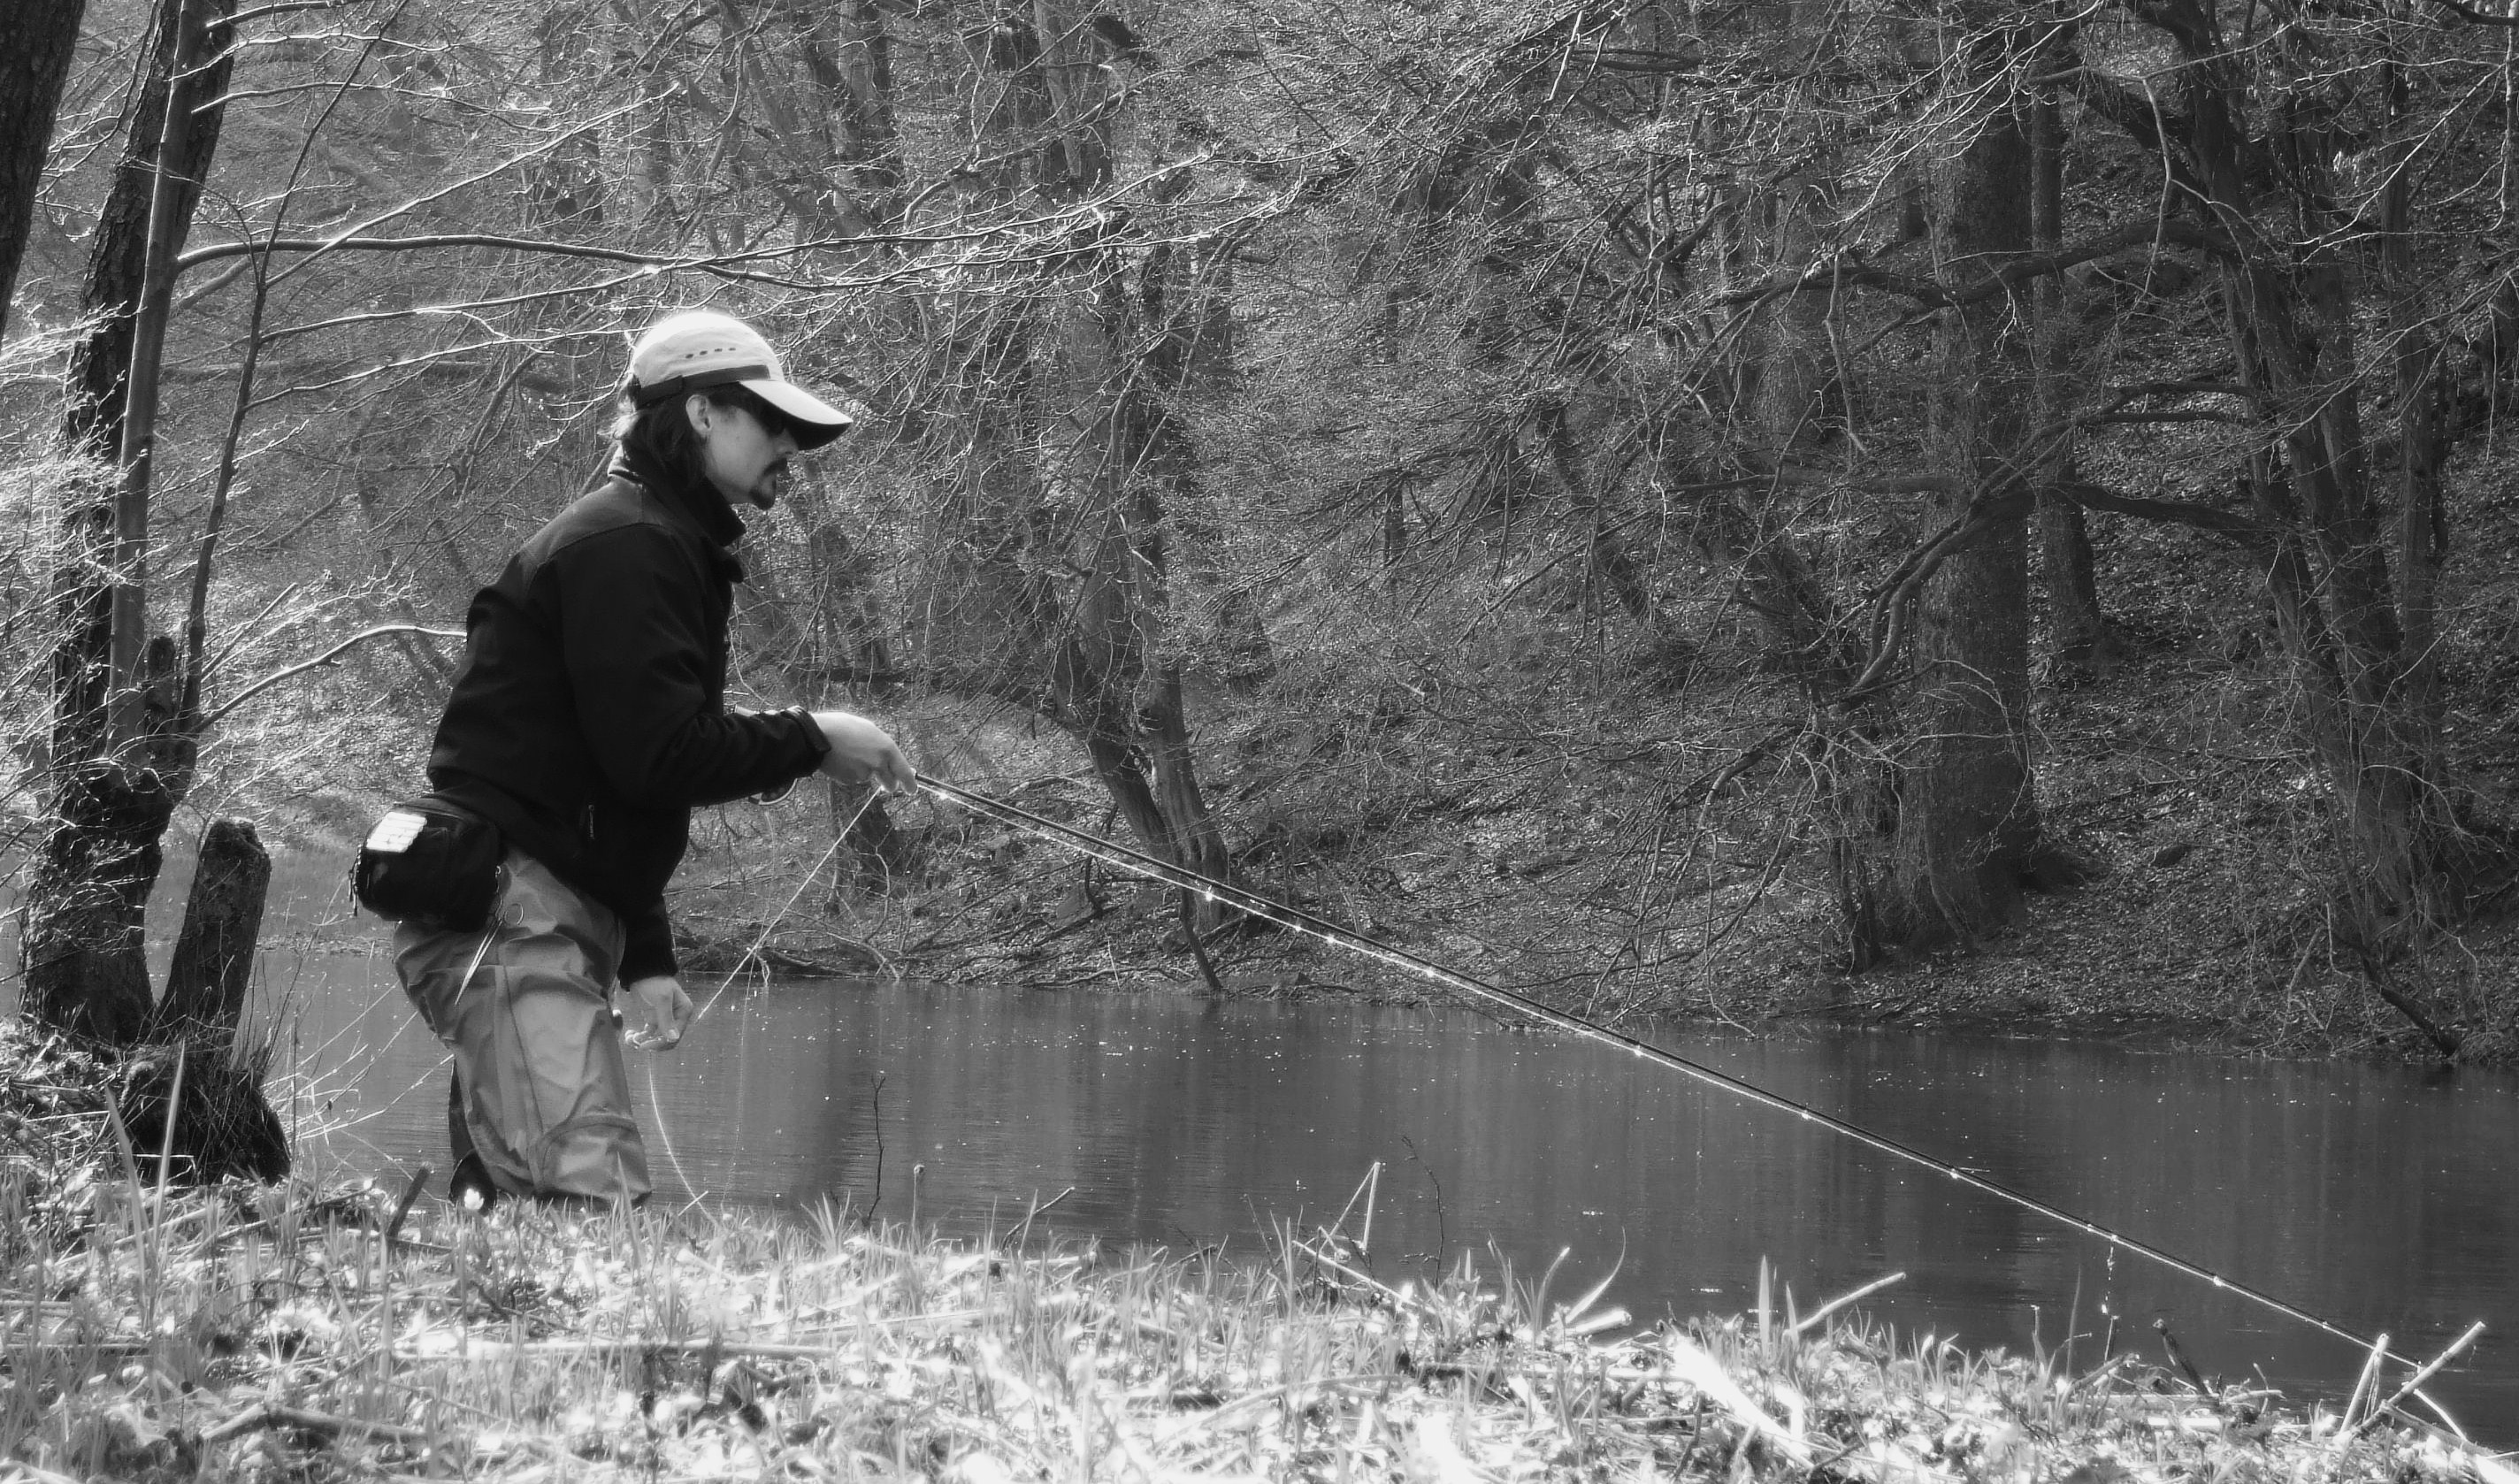
Fishing technique
How you lead the lure is the most important factor! Cast across the river current and retrieve using sudden irregular movements. The interface between moving and calm waters is the famously best places to catch. Fish wait here and watch for small fish from the main current. In calmer river sections or lakes we can make the fly appear more lifelike and move it with more precision without the influence of strong currents. We can feel each movement of the streamer through the line. In calm water we can either retrieve using regular long pulls (attractive to pike) or short sudden jerks, which entice mainly perch and trout. While working with the fly we must constantly think about the moving tail and accordingly retrieve and animate the fly. Before each long cast the fly should be well wetted, and can be tested in the nearby water to see how it moves. This way we become more familiar with how best to work with the fly to make it irresistible to a predator.
My confession
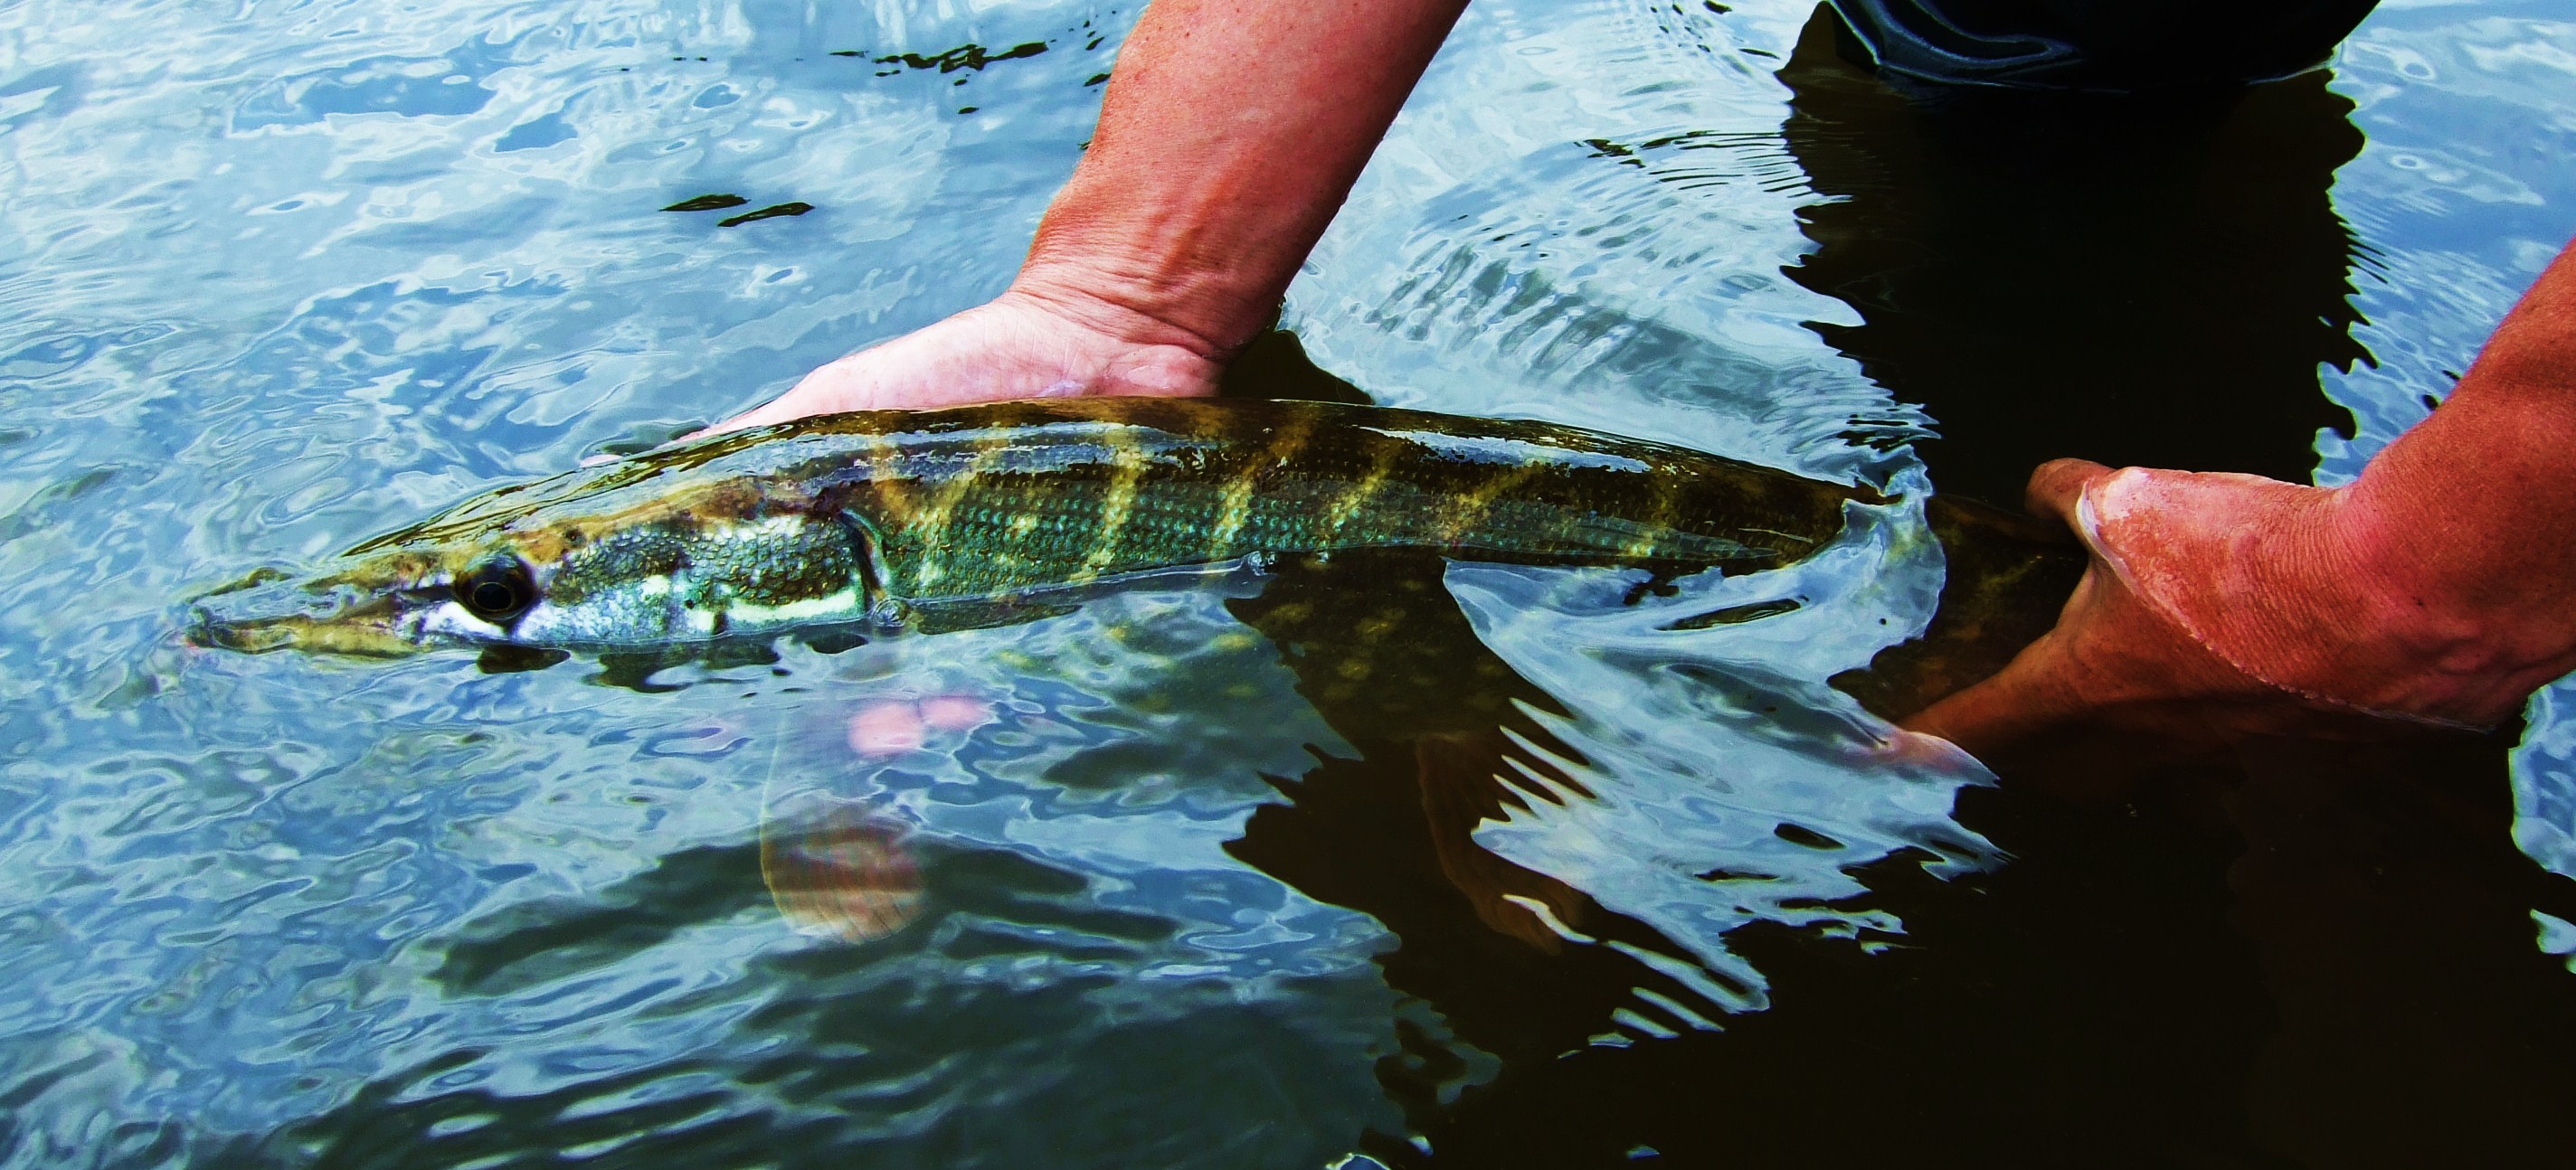
I guess I like fishing with streamers the best, since one never really knows what awaits and how big a fish it will be (though we of course always assume the biggest!). This type of fishing has a certain secret atmosphere. While retrieving the line you feel a sudden impact on the rod or the end of the line uncompromisingly halts, and then begins one of those great moments of landing an unknown fish. Moments, when you put all your effort into presenting the fly as naturally as possible to the fish of your dreams, while the fish does its best to catch its prey and demonstrate its superiority. When all is in balance, we realize why we choose this style of fishing.
Tying materials
The materials used for this fly are very important, and considering the fish to be caught, especially their strength. The material determines the movement and visibility of the streamer to fish - the overall attractiveness. For this reason, I will give a detailed description of each part, which together lead to a strong and effective weapon.
The hook: For tying this type of fly I usually use a classic streamer hook with the long shank.
The advantage of the longer shank is greater room for dubbing the metal body in loops, which don't ruffle up in the water, imitating the excellent silhouette of a small moving fish. The disadvantage is the greater leverage in the fish's mouth, which can lead to dislodging and losing the fish. The size of the hook determines the size of the streamer and thus the size of fish we are hunting. I use from an intermediate size 4 (for large rivers and lakes - pike, asp, large trout) to size 8 (smaller rivers - perch, trout, chub). The hook must be of good quality and very hard, since for many of these types of flies we can expect strikes from capital fish (pike, catfish, trout) which it would be a pity to lose because of a poor-quality hook. The same applies to the rest of the materials. On the body of shorter types of zonkers I like to use curved carp hooks with an eye, which are distinguished by their solidity and hardness, short shank, and very sharp tip. I appeal to all to use barbless hooks, or to pinch down the barb directly at the vise. Fish should be protected and treated as carefully as possible, and flattening the barb is one step in this process. If anyone is afraid of losing fish, I would like to assure them - in most cases fish are lost due to the hands of the fisher, not because of the barbless hook.
Thread: Strong thread is very important, the best in the same color as the body material - in our case grayish-white. When tying flies we have to keep in mind that we want to catch large predatory fish that look at our flies as prey to be destroyed and swallowed. If we use fine thin thread, it is likely that our fly will fall apart at the first strike, which is not worth risking. It's best to consider materials that are the most resilient with the least amount of winding (which prevents lengthy shaping of the fly and saves us time). Kevlar thread and Grall twisted thread in larger diameters are the right choice.
Lead wire: Used according to how much we want to weight the fly. The main goal is to get the streamer to fall head-first, so we put a few winds near the head - for instance 6-8 winds of 0.5 - 0.7 mm lead wire - again based on the size of the lure.
Eyes: The best are metal chain links (like from bathtub stopper chains, or other small chains) or also special dumbbell eyes currently made in various sizes, colors and materials. If we use tungsten dumbbells, then we don't need the lead wire. These types of eyes from very heavy metal produce the head-first diving effect without further weighting. For smaller lighter streamers, even the chain link eyes give enough weight without the use of lead wire. Don't use Christmas ornament chains though - they are usually plastic halves glued together and painted gold or silver! The color will quickly wear off and the "eyes" themselves won't last long. A small hit is enough to separate the halves and the fly is immediately blind.
Marabou: For this fly I use quality black marabou feathers from swan or turkey (puff). It is strong and the color holds up well, not fading even after long use. We can of course also use white, gray, or grizzly colored. For asps, blue colors work well. I like to use black most because it contrasts well with the other colors of the fur I use and also resembles the fins and dark back of the fish body.
Tail dubbing: This short section is not all that visible in the end, so I like to use some good dubbing material with shiny fibers mixed in. The best is rabbit in natural grey-white or beige. Or, you can go completely opposite and use a mix of artificial materials for this (angel hair, ice yarn, spectra, gleamy or holographic dubbing...). This region will occasionally flash while retrieving, and function as an irritant drawing the attention of predators.
Zonker strip (tail): Considering the movement and allure of the fly, this is the most important part and must be given the utmost attention. The material used is very important - it must be strips of separated hide with fine fur. Of land-bound animals, rabbit is best for this purpose. It has very fine and dense fur, which is also easy to color, and for this reason these types of strips are manufactured frequently and are available in many colors. However, I prefer to use the fur of aquatic animals. Their fur acts natural in the water, where nature designed it to work. My favorites are mink and muskrat. I have even had more strikes from flies tied with these furs compared to those bought with rabbit zonker strips. Fish react to them better and the flies move more naturally. I mostly make zonker strips myself by cutting up tanned fur apparel (coats, hats). There has also been a lot of discussion about the width of the strips - their thinness and strength are important. The most optimal are 2 mm wide strips of hide cut into a slanted point at the end - for better performance. Also take notice of the quality of the tanned hide and use strips with no blemishes. If we don't, then such strips become soft when wet and are easily damaged and torn at these areas (when casting, during fish strikes, etc), making your carefully tied fly an unusable "corpse" - a non-moving lure to be thrown away at home or to the depths of the water in moments of despair.
Body and abdominal dubbing: A balanced combination of cut zonker strips of the same material as the tail and light blue or shiny synthetic material (chemlon, synthetic dubbing, shiny hair) or also naturally colored dubbing from muskrat, again excellent for its delicacy and natural action under water.
Feather: From The bird Numida meleagris: Make regularly spotted feather which imitates small fins. Alternatives for the "thorax" region: For this end of the fly we can use various shiny chenilles that imitate the shape of the head (cactus chenille, flash, krystal chenille, ...) in natural darker colors - in our case peacock chenille - or the brightly colored fluo chenilles used to tie blobs and lures. I like to keep these flies close to natural, so when I use chenilles they are variations on natural colors. Another option is to tie the head from hollow winter deer or elk fur, then cutting it to reflect the silhouette of a small fish head, giving the fly a "muddler" look. The advantages of this are how well it imitates a fish head, but at the cost of less durability.
Lacquer: This is a very important "material" for tying this type of fly. Many tiers use lacquer just to firm up a tied head, and some not even that. I use lacquer very often and recommend it when tying especially for streamers and large flies intended for large predatory fish. I basically use a bit of lacquer between every important tying step, giving the fly strength and durability. I consider gluing the head where the thread ends an absolute necessity that prevents the fly from unraveling. It's frustrating when a fly becomes untied during use just because we hurried the tying and were lazy to lacquer the ends. The time we saved at the vice gets paid back negatively at the water. There are special lacquers available, but I think regular clear nail polish is perfectly adequate.
Description of the tying technique
Step 1: Fix the hook in the vice such that when tying the fly the jaws don't get in the way of winding the bobbin, dubbing and tying on the various materials. We don't start by tying on thread as usual, but first wind the lead wire for weight. Then we tie this down with tying thread so this part of the fly doesn't move forward, tie the thread to the eye and glue with lacquer so that all is fixed.
Step 2: In this step we tie on the chain-link eyes. I put a drop of superglue on the hook eye and set the eyes in it. For better manipulation it is easier to glue the whole chain on just behind the hook eye, tie down the two closest links, and then cut off the rest of the chain with pliers. Using a figure-eight wind of thread across the rod connecting the two links gives the best balanced result. After securing the eyes, we wind the thread to the end of the hook shank. It is important to glue the "neck" the thread stays in place and doesn't slip down. After the lacquer dries this makes a stable foundation for the whole fly and the subsequent materials stay in place on the hook.
Step 3: Tying the shorter tail from black marabou. Pull off an intermediately dense tuft of marabou, and clean up the end we tore off with scissors. This this cut end will be tied to the shank, and I roll between my thumb and forefinger to narrow it down so that the silhouette stays nice and thin rather than creating a blob from the marabou. I then like to pull the end of the tail with my fingers to get the length right.
Step 4: Dubbing the tail part. Using the classic technique spread out the rabbit hair with thread, winding to about one-third of the hook. Before tying I again apply lacquer. This dubbed fur needs to be combed with Velcro and a dubbing needle.
Step 5: Tie on the zonker strip such that 2/3 of its length extends past the hook bend and covers up the marabou tail. Make loop with the thread and insert the dubbing fork, then wind the thread 2/3 of the way up the hook shank.
Step 6: To this foundation we next prepare the material for these loops - the zonker strip + light blue synthetic material - combined as follows. I lay the trimmed off zonker strip on the base, keeping the same shape as the fur. Onto this I layer the light blue dubbing. I then hold this "dubbing stripe" lengthwise with long thin forceps (or Laibl clip) and insert it into the thread loops, which I then tighten down and make a dense know with the dubbing fork - about the density of natural chenille.
Step 7: Before the next step, lacquer the shank and wind the knot securely on the second third of the hook shank. Then comb this dubbed part well with Velcro, toward the back. Then I unwind a remaining loop and tie it to the side for later use.
Step 8: Tie on thin black winds with long marabou, which will imitate the dark fish dorsal.
Step 9: In this step we tie on a symmetrical feather from Numida meleagris, and wind it around the shank in front of the remainder of the fly. This ring imitates the fins of a fish.
Step 10: In the last step, we repeat steps 6 and 7. In this way we create a thick head imitating a fish, and again comb with Velcro. The final loop without any material is tied down with thread and cut off. We knot off the tying thread behind the eyes, trim, and lacquer repeatedly. We can then give the fly a final combing, and let's go fly fishing!
A words to conclusion
With this pattern I caught one of my largest "non-trout" predatory fish. I wish you much success in tying this fly and many beautiful strikes. To those fish caught I wish a polite fisher who will return you back to the water! Best wishes until next time.
Catch & Release Forever!