


The hot summer months usually don’t allow us to visit trout waters with the notion of getting the better of the fishes’ activity throughout the day, as is possible at the beginning of the season. Salmonids at that time of year are rather active only in the early morning or late evening, while they spend the smothering heat of the day in the most-oxygenated and coldest parts of rivers and lakes (at the bottom) and are practically not active at all, with just some exceptions. During such days, we have 3 choices: A) Futilely spend our precious energy on these trout waters. B) Put on our swimsuits and lay on the bank all day. C) Stay true to our “addiction” and go a completely different way – fly fishing for carp basking in the sun!
The fly I’ve chosen for this issue is an excellent choice for fly fishing for carp just under the surface. In designing the AR Carp Tuty, I originally took inspiration from classical midge patterns that are commonly used for trout while still water fly fishing.
I initially tied the AR Carp Tuty for this purpose using larger sizes, since carp must be enticed immediately when the fly falls in their territory. While relaxing in the summer sun and taking in oxygen above the surface, they have to have a reason to actively hunt and suck up your fly like a greasy morsel.
The main driver of success for the fly fisher looking to take carp at the surface in summer months is the style of fishing, however.
Carp Fly Fishing method and equipment
It’s very important to find a school of fish. If you run across a fast-moving solitaire outside the group, the chance of success drops significantly. In these cases better to move on and don’t waste your time hunting for the one fish!
A good carp fly fishing tip:
Before starting to fish, walk all the way around the whole pond (if a small one), or at least the most attractive parts (if a larger lake), to find where carp are most likely to be found near the surface. This step is very important, as you can observe the activity of the fish and other factors, giving you a strategy on how to proceed – then take your research, and put it into practice!
Carp and grass carp often occur near free-floating objects such as algae, river water-crowfoot, fallen branches after storms, etc., which give them cover from predators. In addition, underwater tree branches provide excellent optical hiding places, as do reeds.
If you happen to come across a large school of fish warming themselves in the open water, then you’ve hit the jackpot. Of course you have to be careful not to spook the whole school – mainly by poor casting with line falling heavily on the surface near the fish, or improper fly presentation (fast retrieving, unnatural movement, pulling the fly among the fish…). Therefore you should try to approach the school as closely and quietly as possible (whether fishing from the shore or boat) and cast as little as possible.
In this, my experiences from various ponds have been different. In some cases where fish have been spooked (even when by hooking and landing one of the fish in the school), I have seen situations where the fish just moved a couple meters away from their original site, and after a short while were calm enough to again be “catchable”. On other ponds (usually of more natural character), I have had to leave the site after spooking the first fish, or take a several-hour break from fishing, since the spooked fish disappeared to the bottom and didn’t appear at the surface again until the next day. This is another reason it’s important to scout out the terrain, and not rush into anything before judging how the fish are going to respond to your missteps.
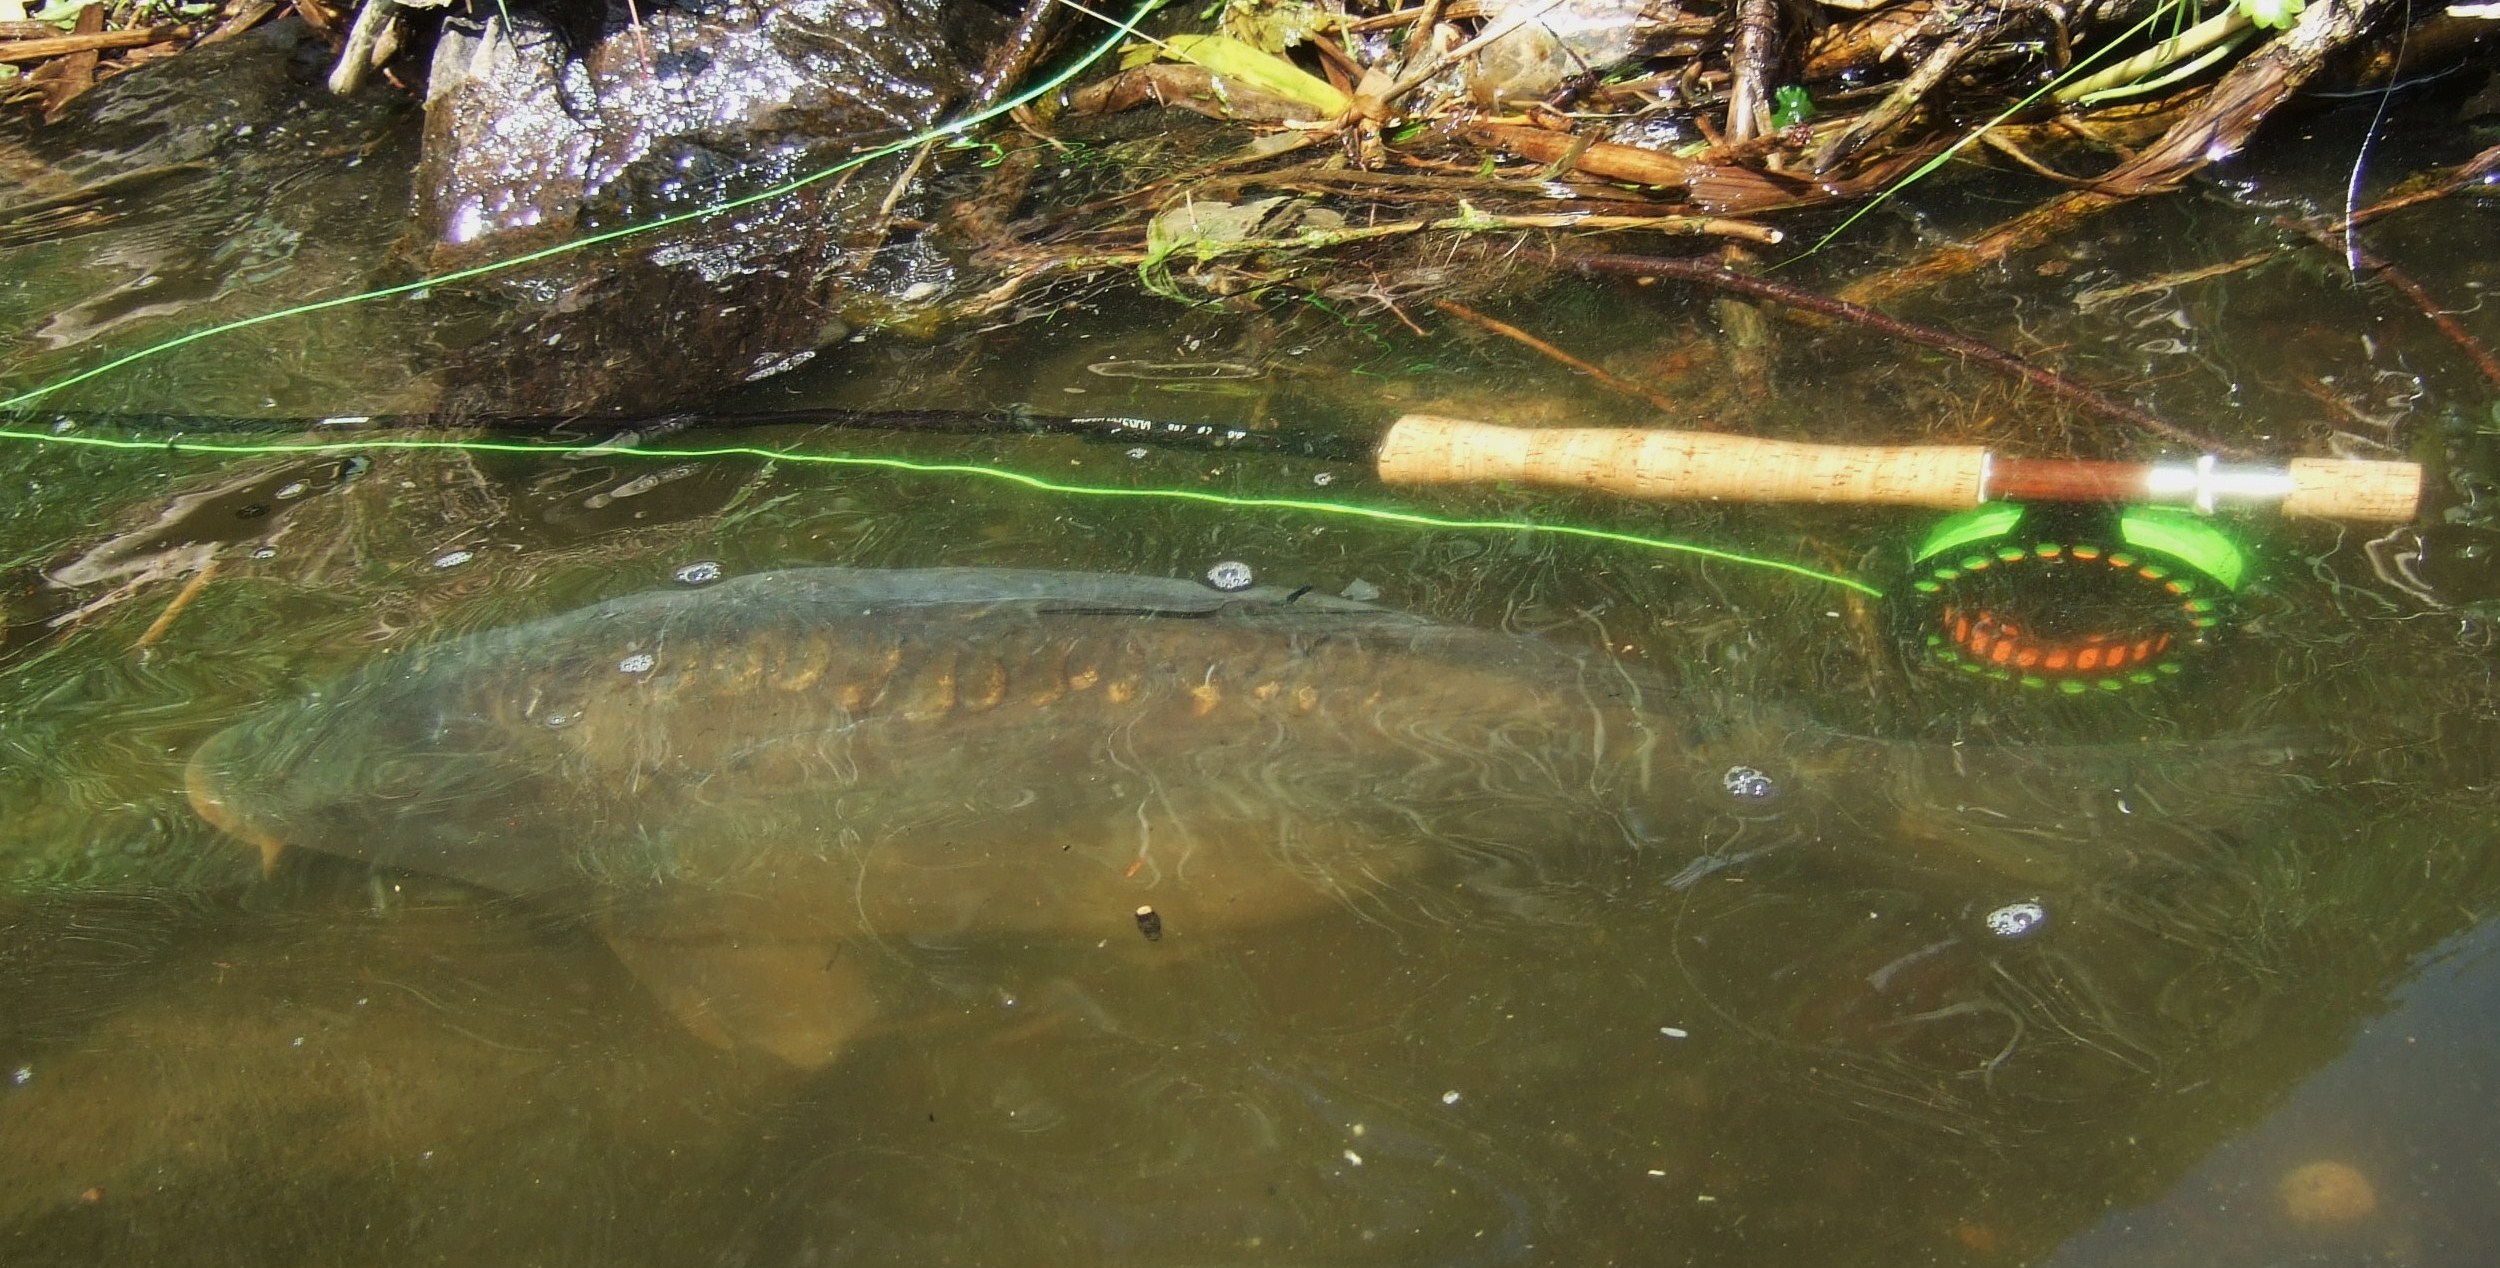
When using the “Sight Fishing” method, which in my experience is best for fly fishing for carp at the surface, it is critical not to set the hook too soon. This method is very exciting, since you can see how the carp slowly sucks up your fly. The negative side is that thanks to the fact that during the whole process you have the strike in the palm of your hand, it’s hard not react too soon and pull the fly out of the fish’s mouth. Of course after a while the fish realizes that something’s not right and often swims off confused, but if is scratched by the hook then becomes spooked and your chance is lost.
A bit about equipment:
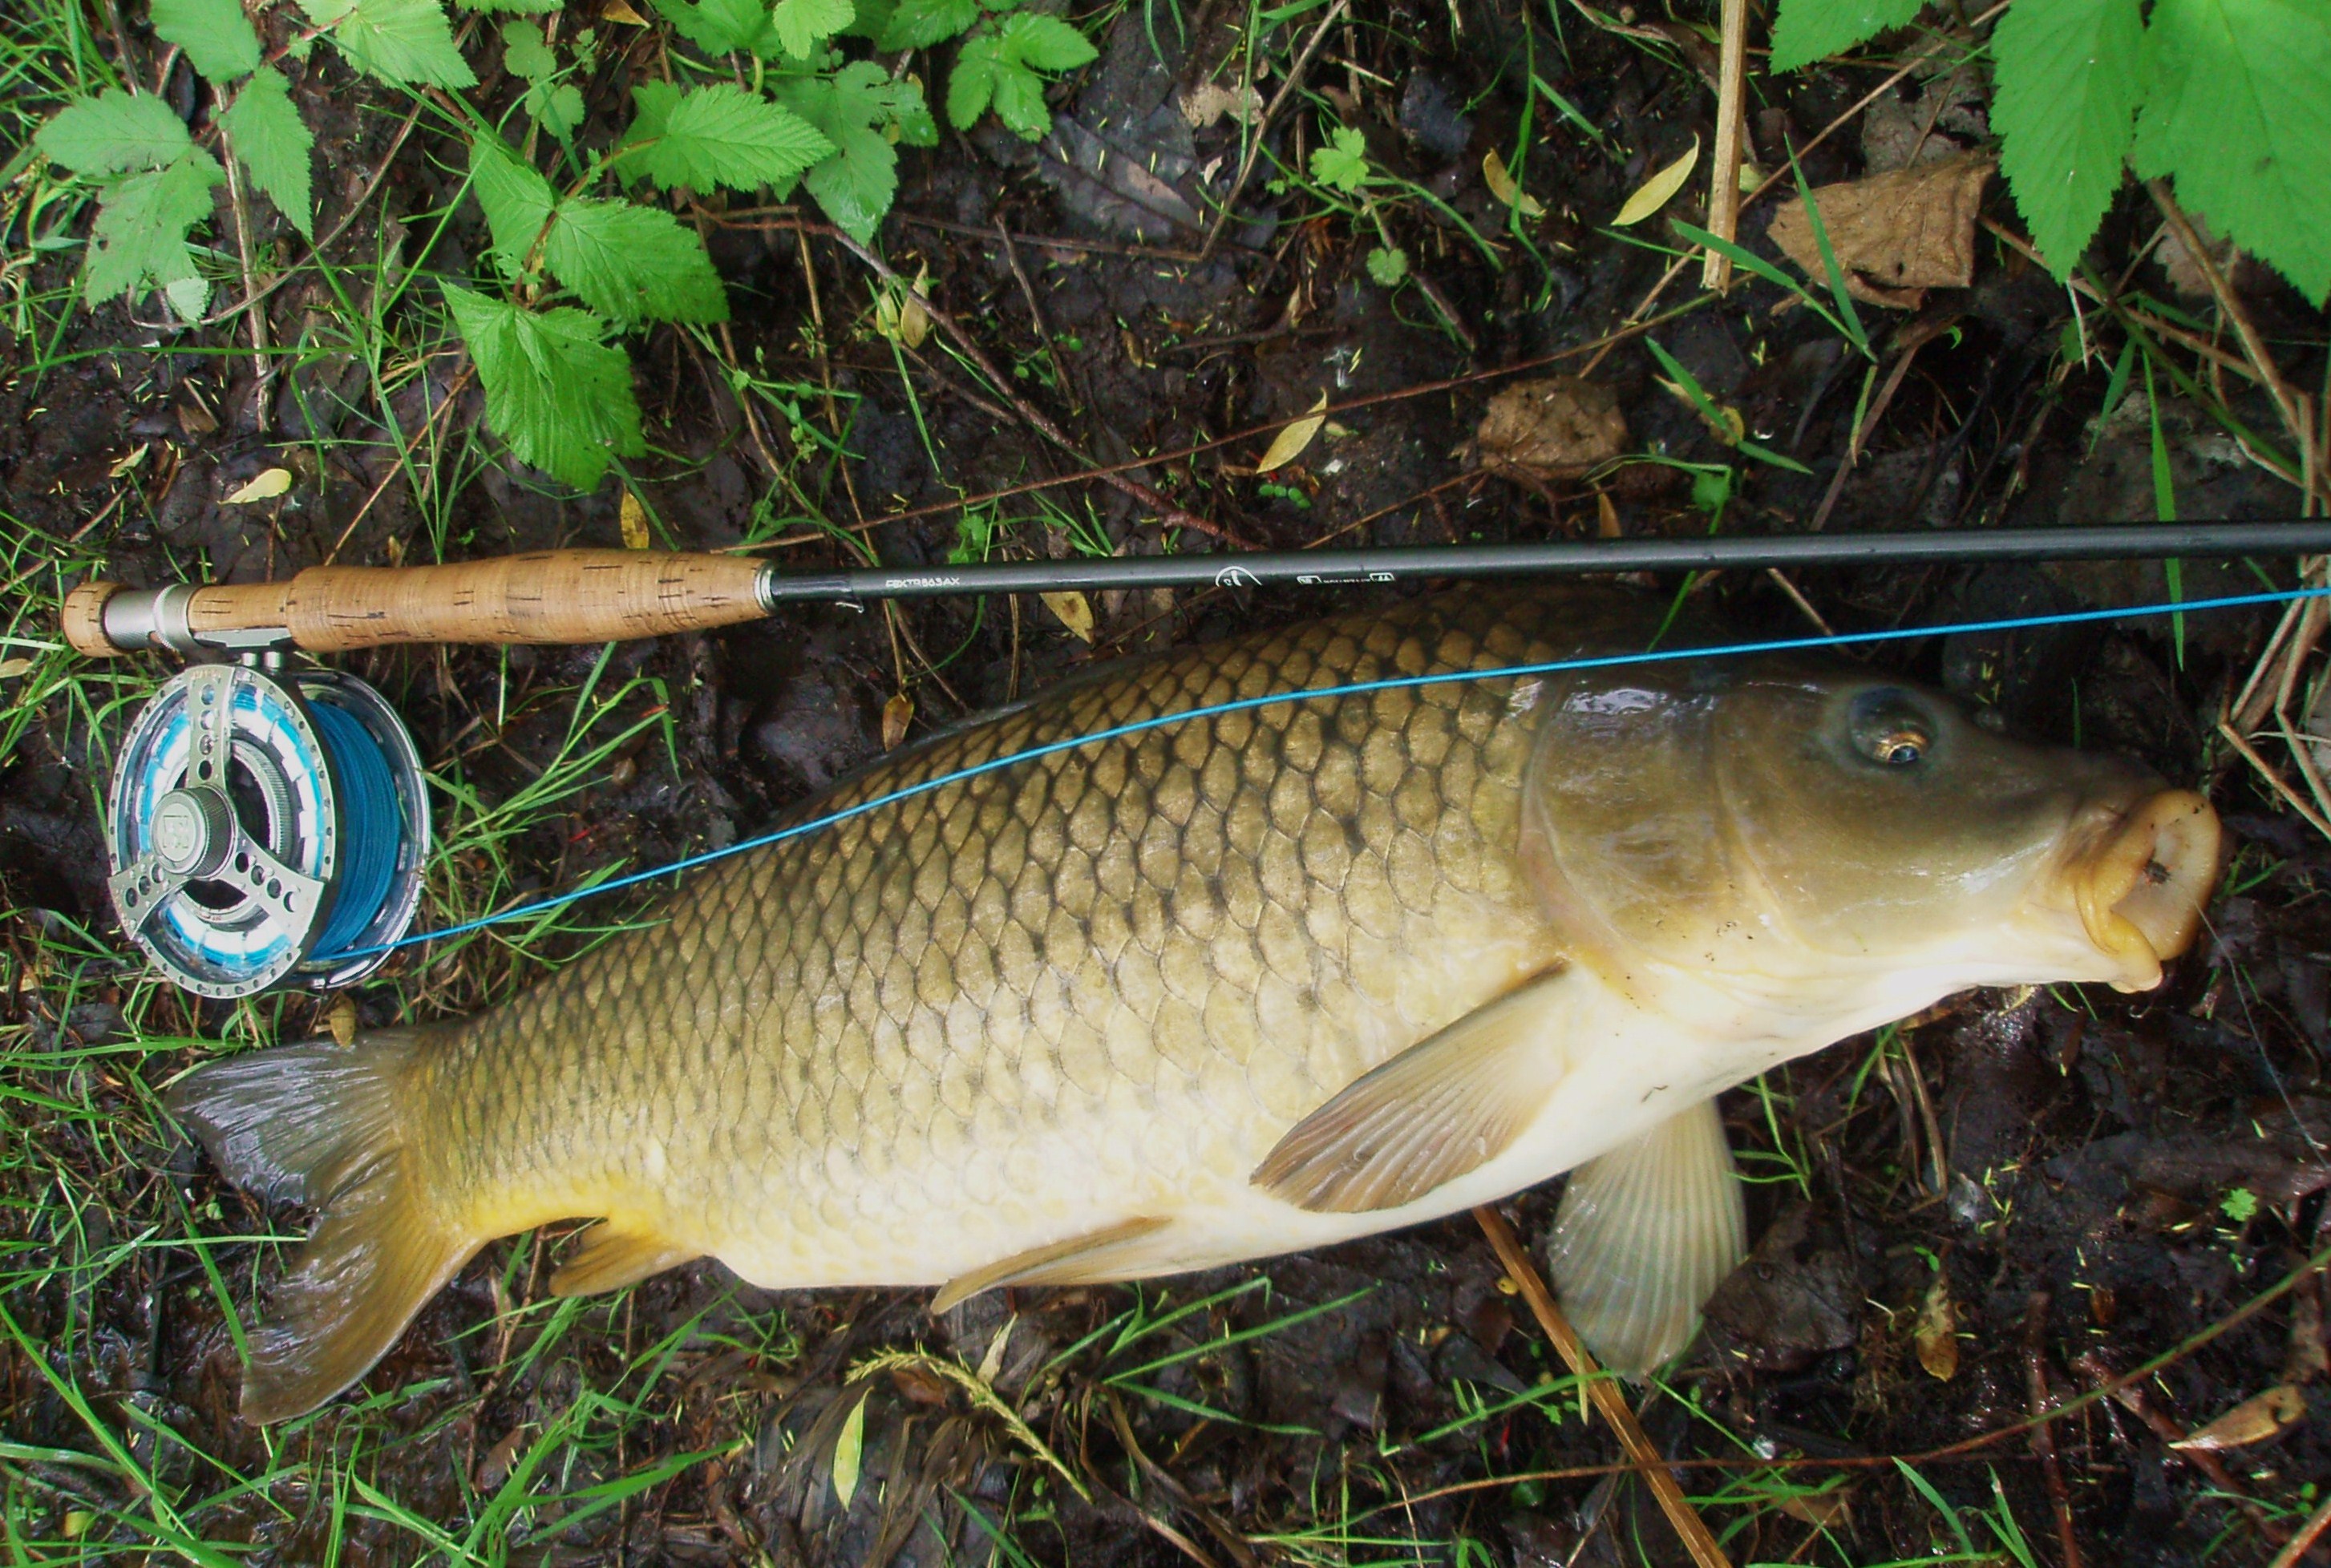
When fishing for carp as described here, a 5 - 8 weight rod 9 feet long with clear colored intermediate or hover line has worked best for me. It mainly depends on the conditions you will encounter and how big a carp or amur you might wish to catch! It’s definitely useful to have larger-diameter fluorocarbon leader (0.20 – 0.28 mm) to keep the fish from breaking it, since if the carp swims to some floating obstruction or other snag you can pull it out with a stronger force without worrying about breaking the leader.
Tying materials
Hook:
For the AR Carp Tuty and midge flies in general I most like to use hook types H330BL in sizes 8-12 and H300BL in sizes 10-14. Naturally, these are barbless hooks with a sharp tip, deep bend and overall good hardness. For carp and amur in grass or other “overgrown water territory” I rather use midges tied on the H300BL hooks which are a bit harder than the H330BL, which I have sometimes managed to slightly straighten out when “levering” a carp out of thick growth, resulting in the loss of the fish. In open water with enough space and time to retrieve, the H330BL is fine. On the other hand, as always consider that the earlier you retrieve the fish, the less it will be exhausted from the fight and better able to recover and swim away.
Thread:
The best choice is thread in the same color as the whole fly – in this case strong black thread. The diameter is also important, since it partly determines the silhouette of the fly, so up to 0.06 is good for this purpose.
Body Dubbing:
I always use seal dubbing (or Gleamy Dubbing, a seal fur imitation). A clear advantage is the excellent properties that seal fur has underwater - reflectivity, shine, the broad silhouette. The downside is that it is harder to handle when tying in with the thread, and the higher cost of this type of dubbing. For the Carp Tuty I use black seal dubbing about 90% of the time, which is the most visible for sight fishing. You can follow it well even under the water surface and react quickly to strikes when it disappears in the fish’s mouth.
Ribbing:
For this I use black 1mm Flexi Floss. This is a sort of flat semi-glossy stretchy band composed of fine elastic fibers. As I explain in the tying steps, when wrapping the body I pull this tight so that it fixes the body dubbing at the same time. At first I was worried that with the combination of tight winding and water the fly might start to blister, but that has not yet happened to any of my Carp Tutys, so I can definitely recommend this material. Another possibility is to use semi-round transparent bodyglass, which is commonly used for ribbing imitation midge pupa.
Thorax:
I always tie the thorax with the same material as the body – black seal dubbing (or Gleamy Dubbing). I just tie it with more volume so that in silhouette it contrasts nicely with the thin body.
Embryonic wings:
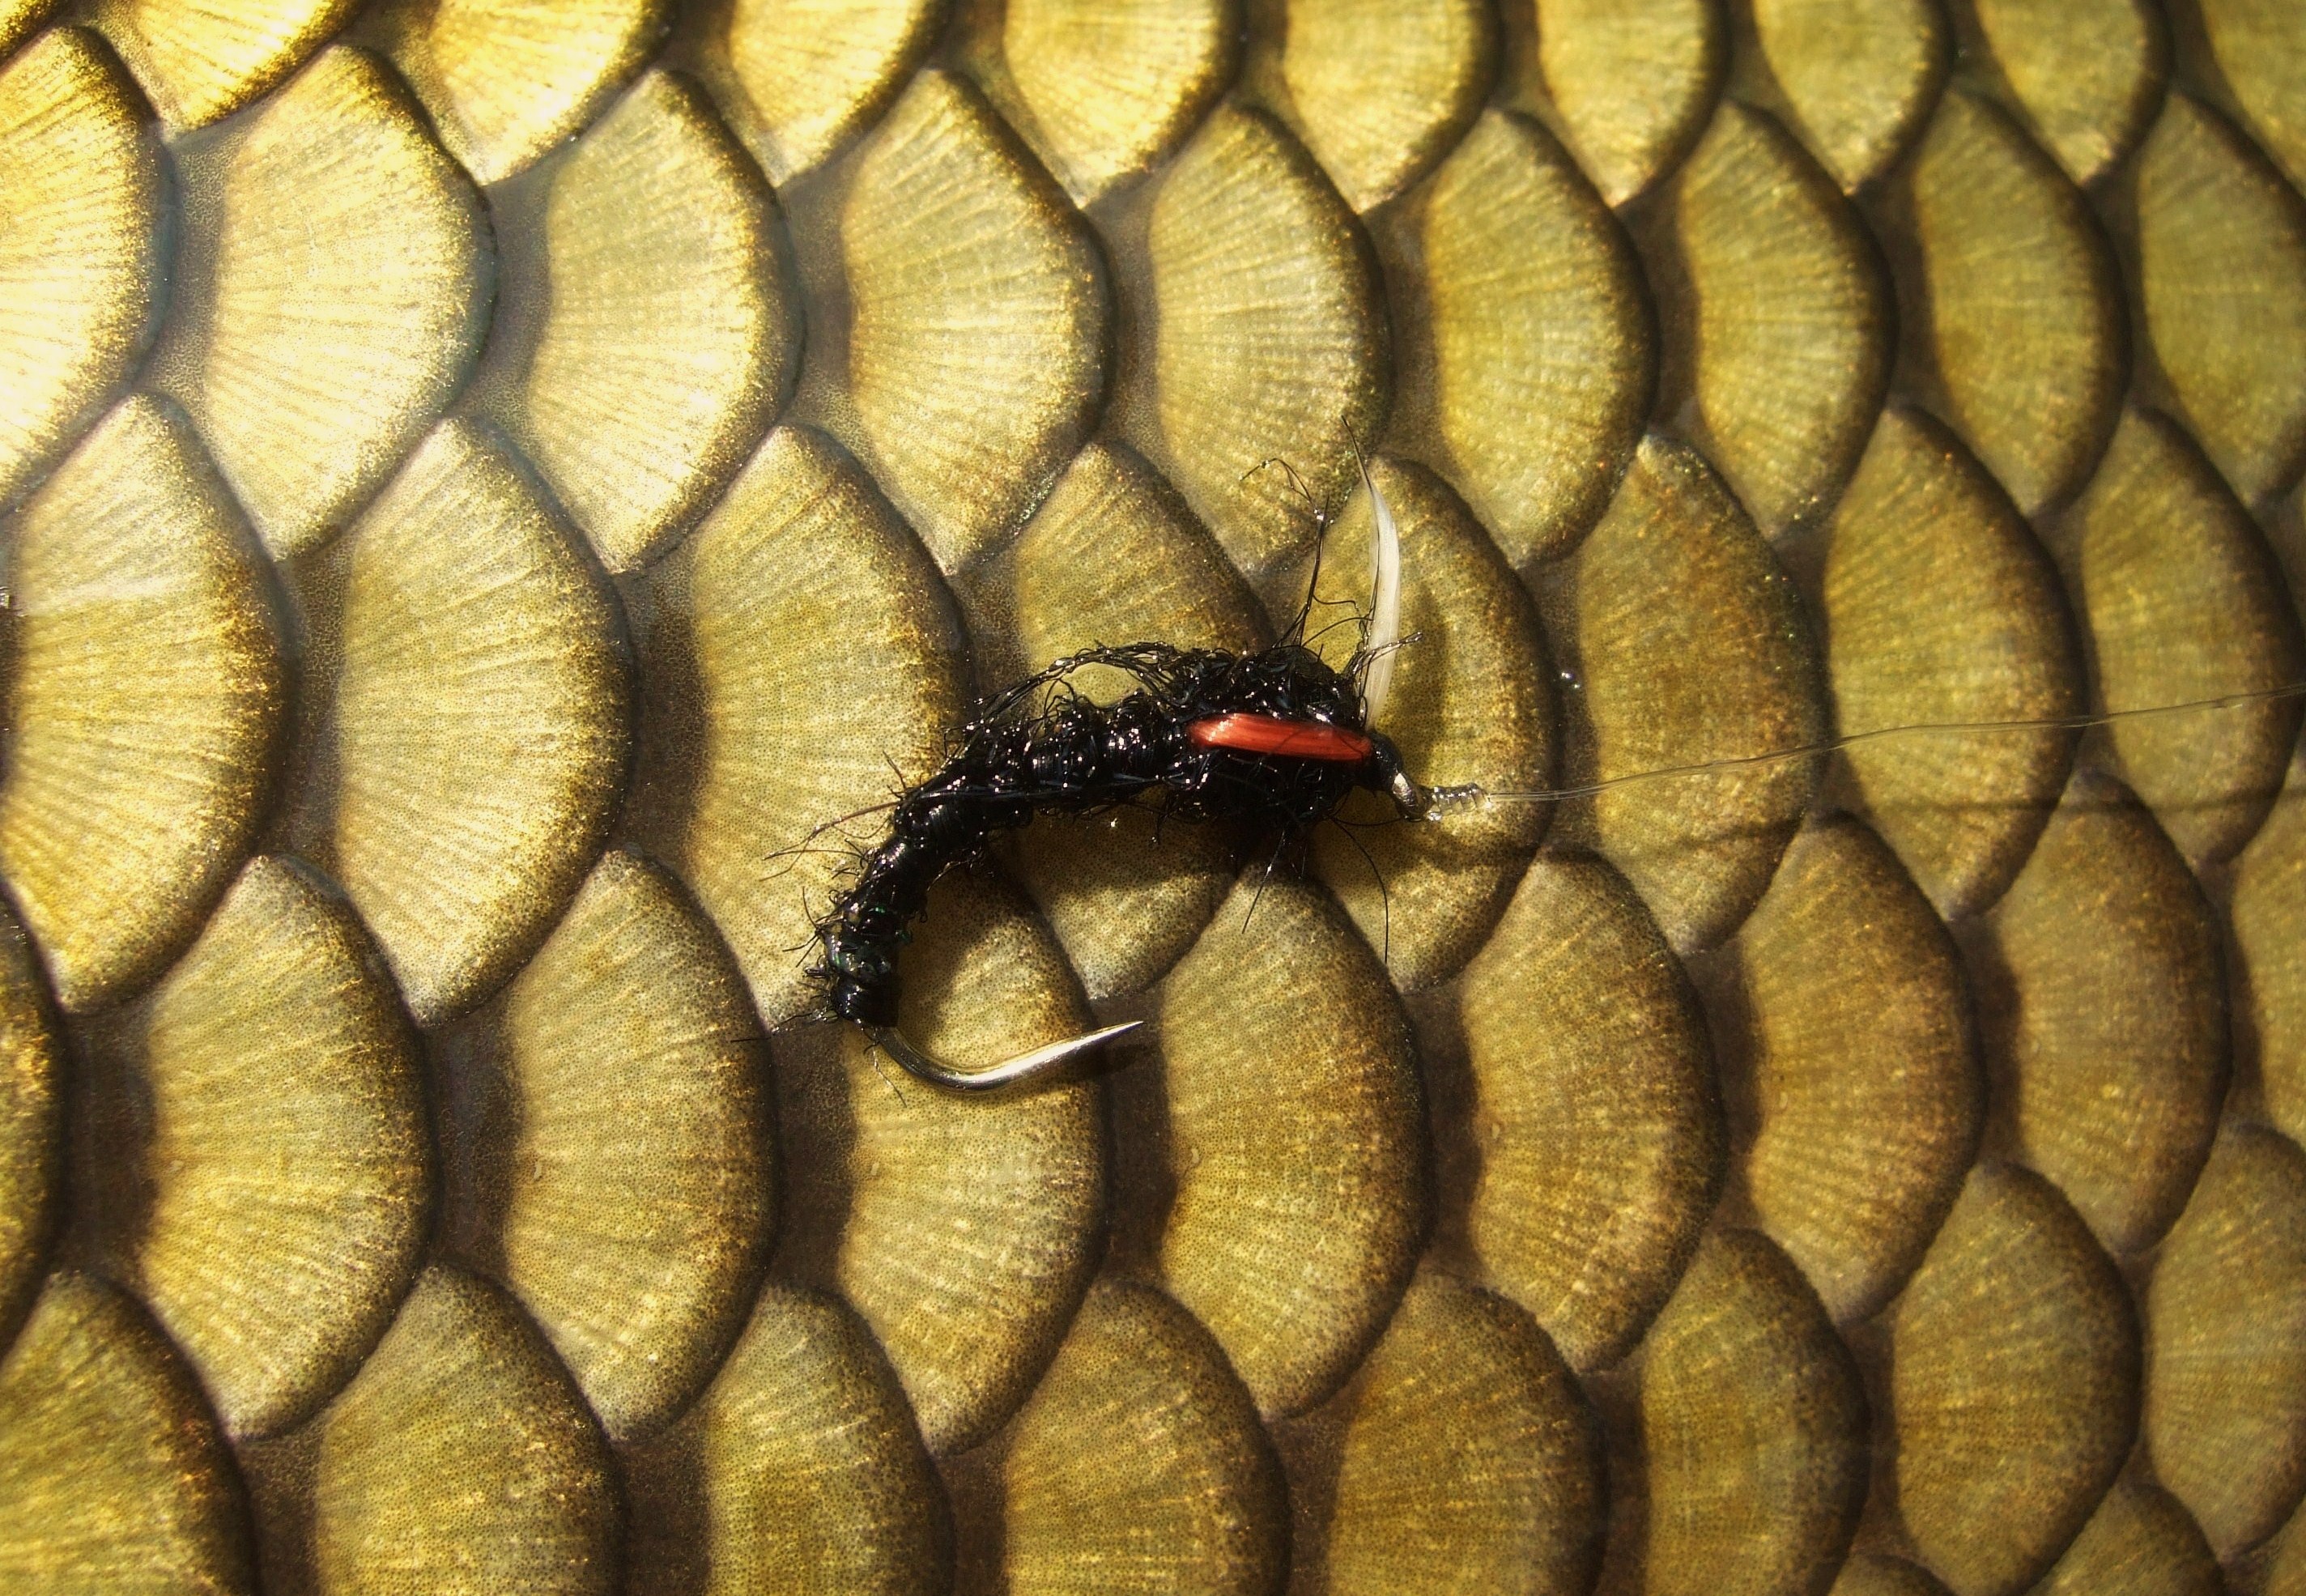
Use the same material as for ribbing – 1mm Flexi Floss, but in this case I use red. This also acts as sort of a “strike enhancer” covering the black thorax, creating a contrast that is irresistible to many fish.
Gills (Hackle):
Since I want this fly to drop under the water interface I don’t use CDC, which works precisely to enable flies to float at this boundry film ( the principle of Shuttlecock-type flies) , but rather use Marabou feather. This beautifully spreads out under water, catches bubbles and gives a wonderfully natural effect both as an imitation of the gills of a midge pupa and as a contrast point together with the embryonic Flexi Floss wings against the black fly.
Lacquer:
An integral part of my tying material, acting to fix the fly at individual tying steps and for final lacquering of the black head formed from tying thread.
Tying steps
Step 1:
In the first phase of tying we fix a barbless H330BL bronze hook into the vice and brush a base layer of lacquer over the entire length of the hook. With a few winds we tie in the thin black tying thread.
Step 2:
To this base we firmly tie down the black Flexi Floss (or semi-round bodyglass), moving back to the hook bend, from where we will start to form the actual body of the fly.
Step 3:
Using the black seal dubbing, create a symmetrical body and comb with Velcro. This part of the fly should be as long as possible, so start at around the halfway point of the bend and finish dubbing ¾ of the way up the hook.
Step 4:
Take the black Flexi Floss and use it to rib the dubbing, creating the effect of an oxygenated segemented midge pupa body. Fix the Flexi Floss at the end with tying thread and trim the remains. I keep the Flexi Floss tight while winding to keep the whole fly together and prevent it from loosening up in the water. We can again comb the dubbing with the Velcro and at the same time pull out longer fibers with our tweezers that stick out of the dubbing unnaturally.
Step 5:
With the red Flexi Floss we tie in 2 short “winglets” pointing backwards. It’s better to tie each of these separately and make sure that they are precisely symmetrical and flat across the side of the back. This avoids unnatural twisting of the material when pulling across the fly’s thorax in Step 8.
Step 6:
Tie in a small tuft of white Marabou feather and pull off in front of the hook eye (never cut!!!) to the correct length (about 4mm, depending on the size of the fly). Return with the thread to the end of the thorax section and lacquer this area so it is ready for dubbing.
Step 7:
Form a thick thorax from black seal dubbing and comb lightly with Velcro. At this phase use plenty of dubbing material, since the thorax must have more volume than the thinner body and there should be a clear boundary between these two sections.
Step 8:
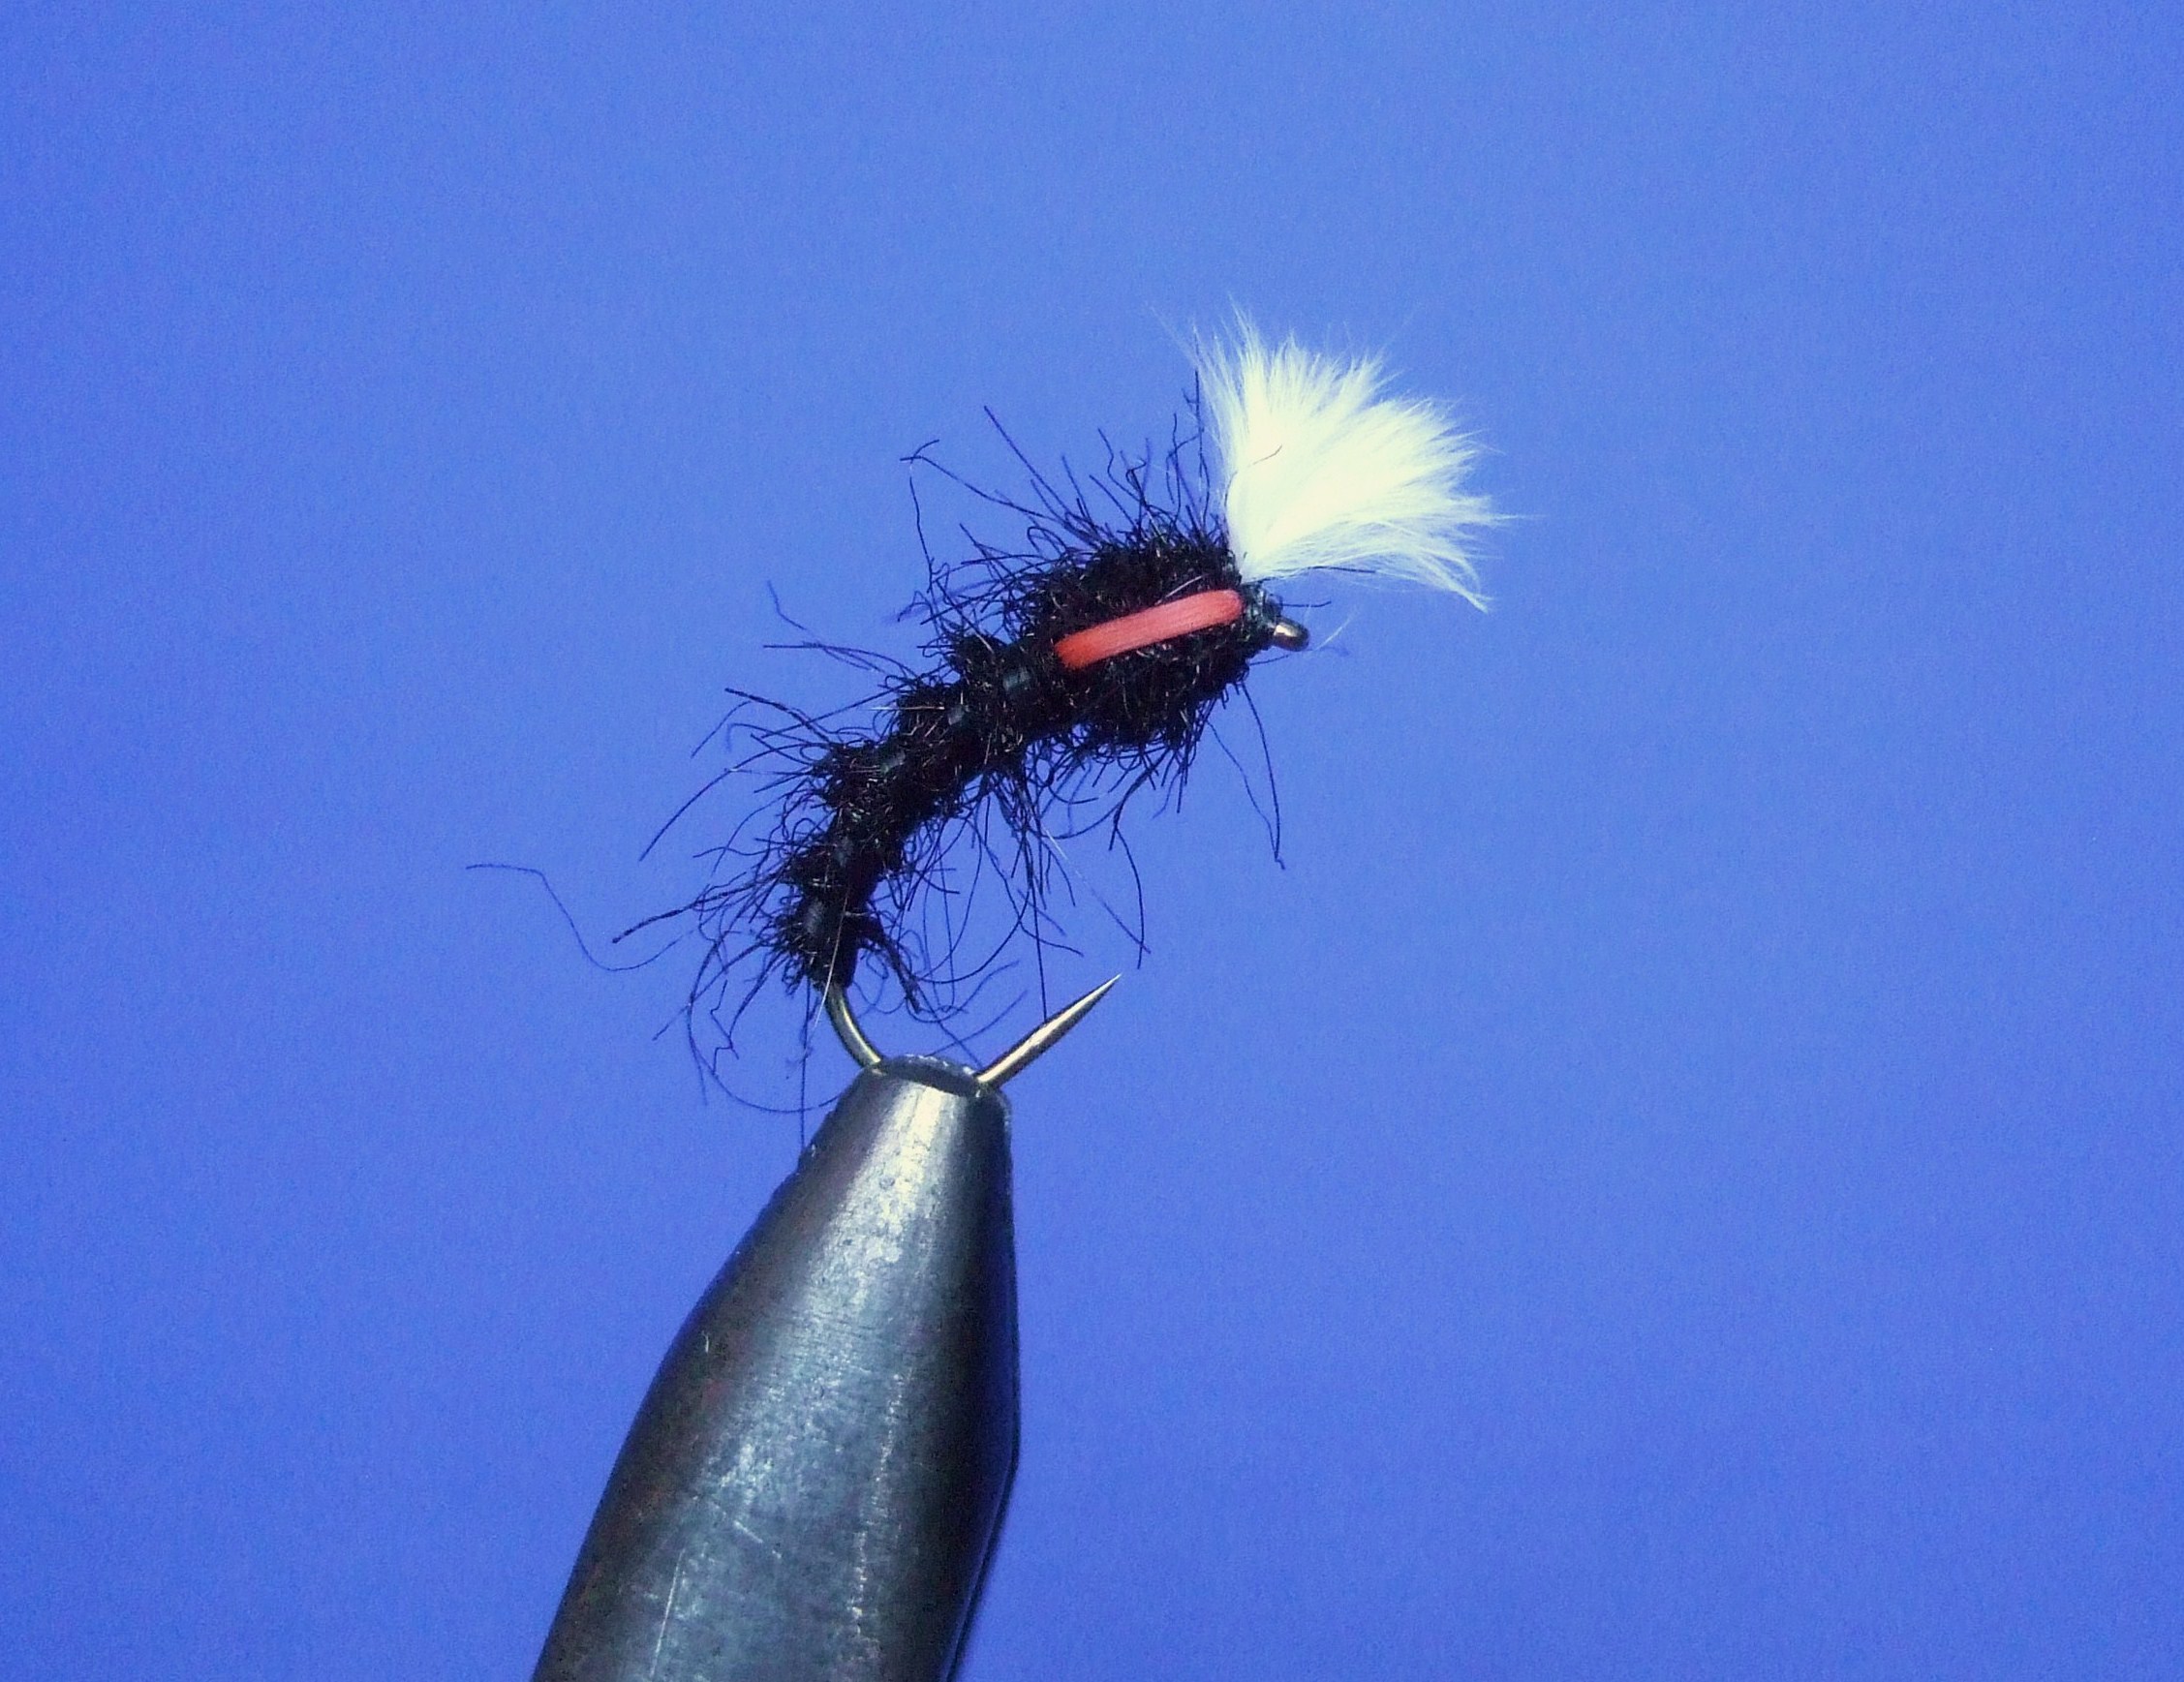
Bend forward the winglets of red Flexi Floss toward the hook eye and over the thorax, creating our imitation embryonic wings. Similarly as with the ribbing, pull the Flexi Floss tightly over the thorax and fix in place with thread. Just before the white Marabou hackle, make a small black head from tying thread, finishing off with a hidden knot and lacquer well. Finish off the fly by combing with Velcro, and the Carp Tuty is ready for battle!
A word in conclusion
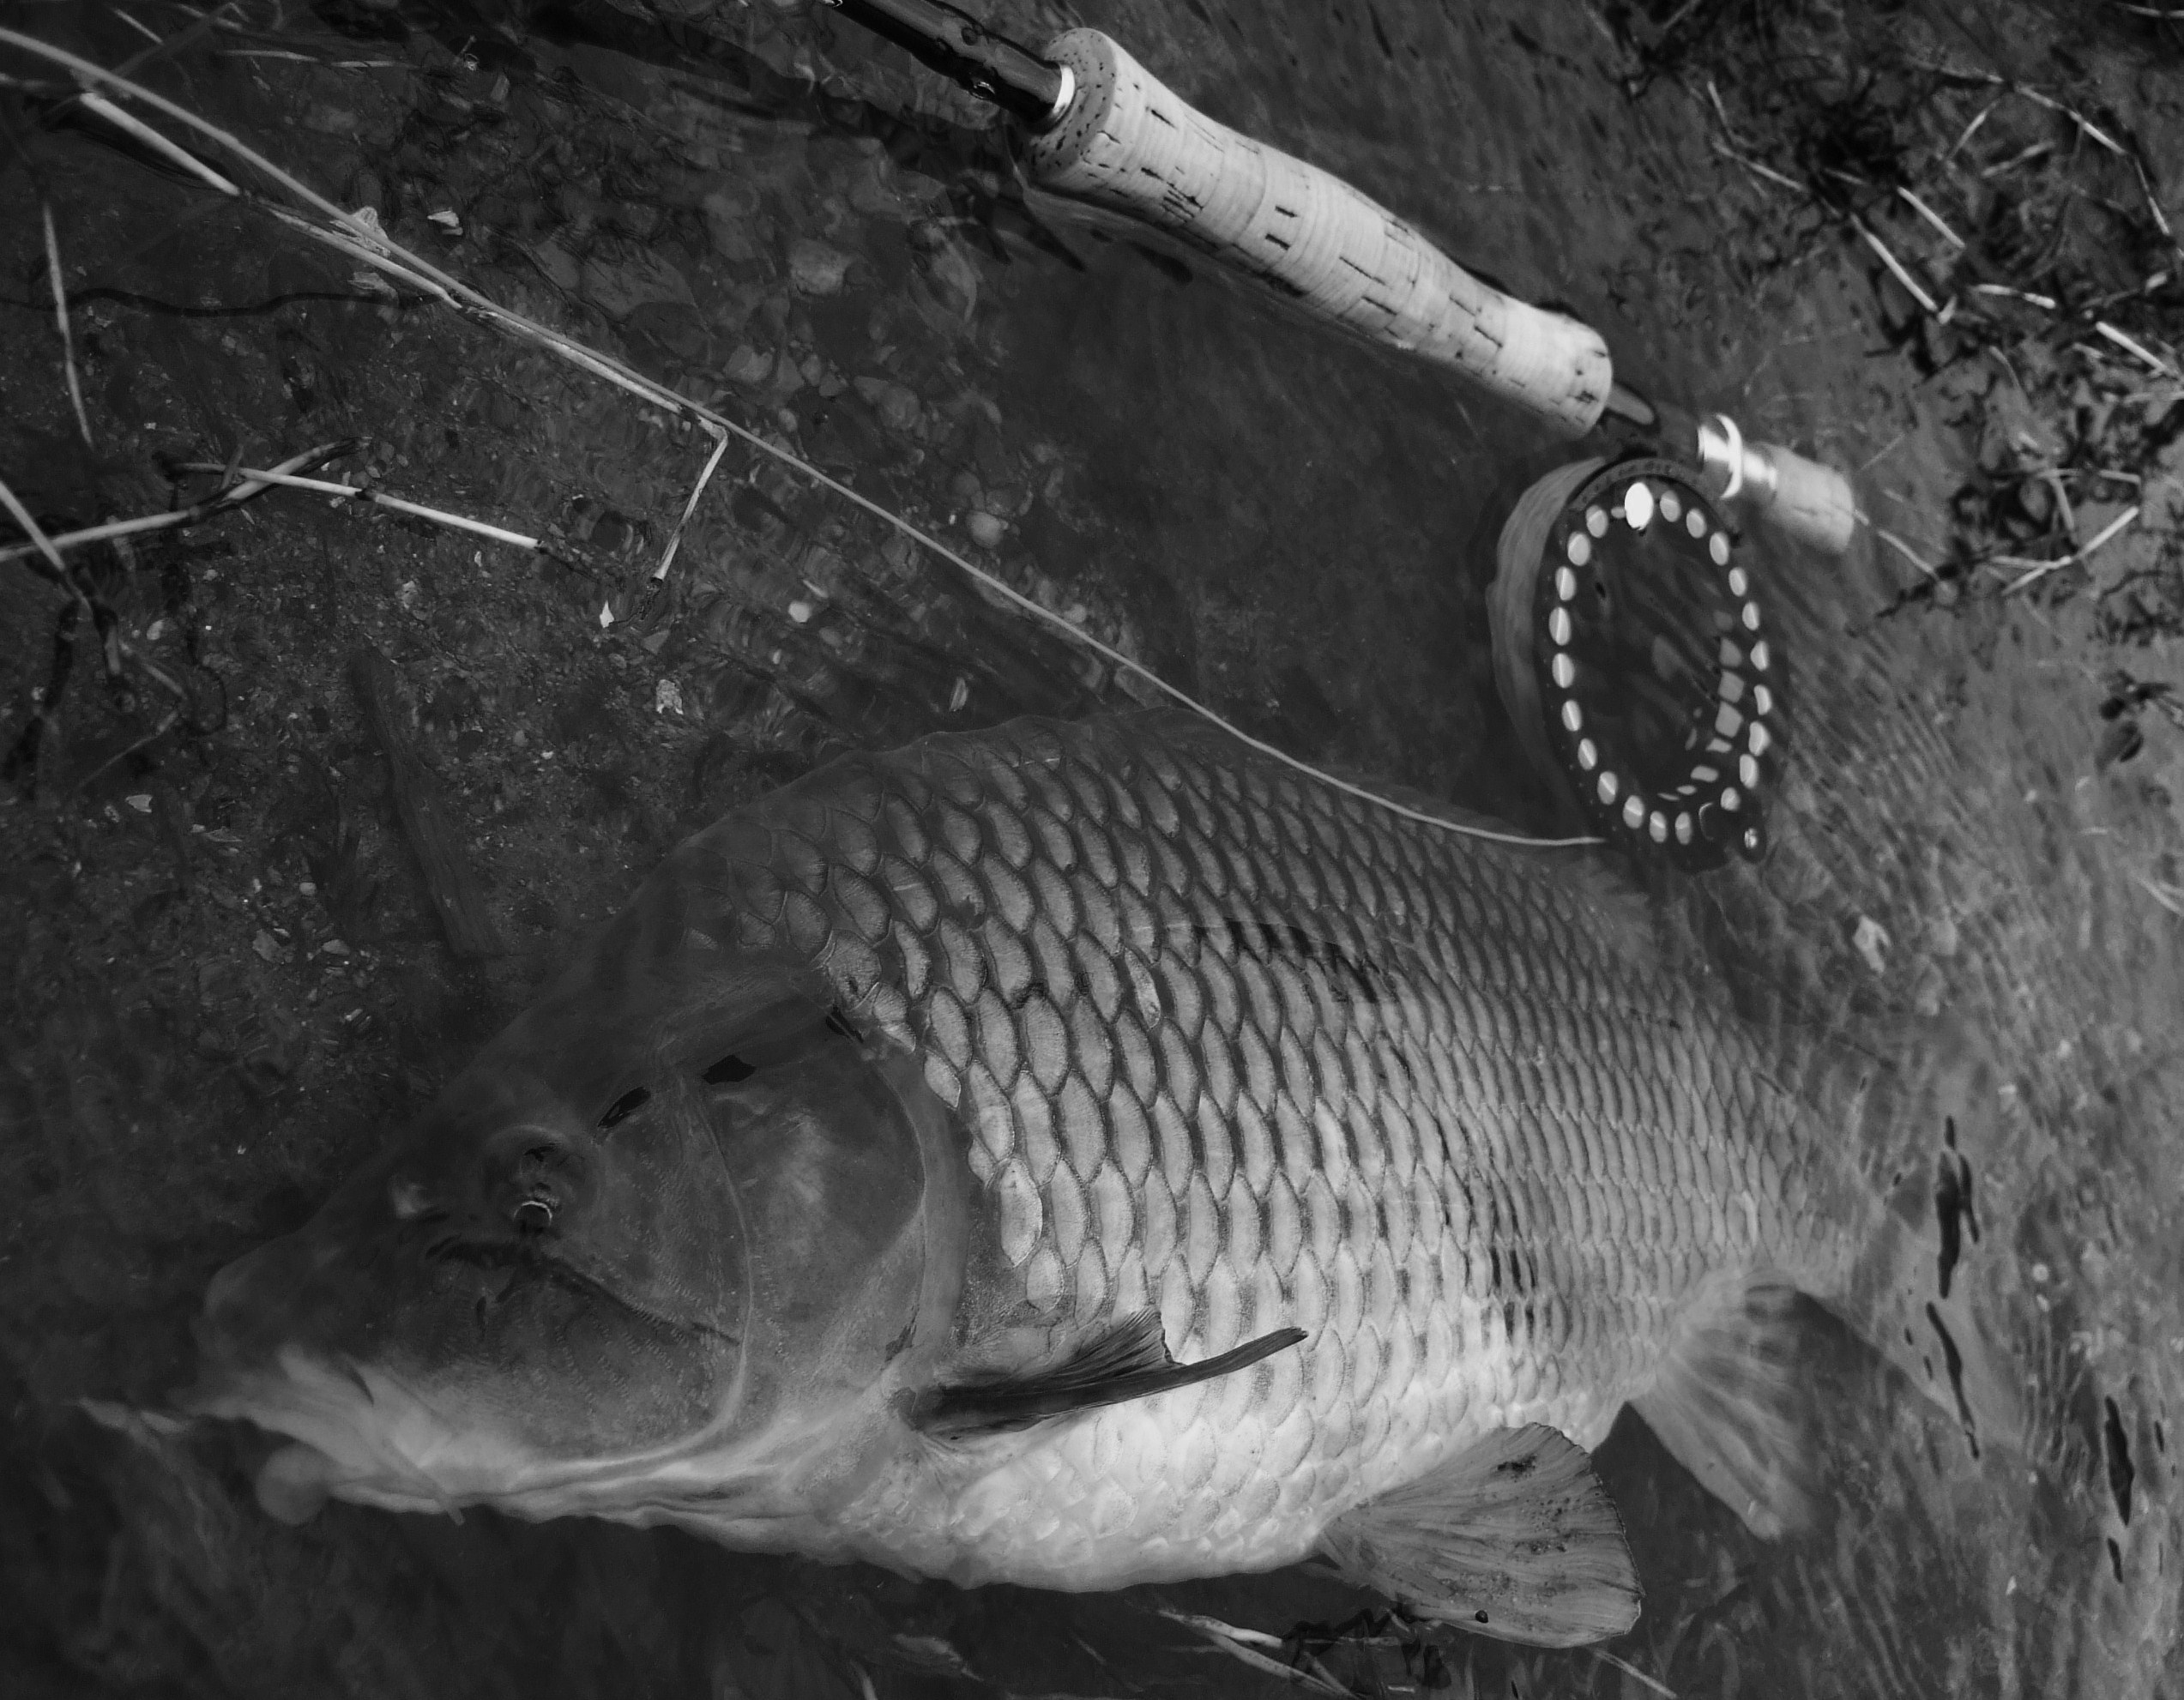
This summer I made it my goal to mainly fly fish for carp with flies. The high temperatures and clear skies with bright sun were conducive, and I experienced many beautiful and adrenaline-full moments crawling around with the carp and amur, offering them flies right under their noses, and enjoying landing some of these hard fighting fish.
I fished for carp from boats, from the shore, and often waded chest deep in muddy ponds to serve the AR Carp Tuty straight in front of carps’ mouths at the end of a rod length – not even casting. This month there’s still a chance to spend nice and successful days fishing for carp at the water surface! So don’t hesitate, tie a couple of my patterns and try your luck with the AR Carp Tuty!
If you do not tie your flies yet, you can check out our Carp Flies section in our eShop. If you want to learn more about carp fly fishing check out out other articles on this topic!